Creating a blender brush is a great way to add some fun digital effects into your art on the iPad. It is so much fun to play with the colours on the screen and use textures to manipulate them in ways that resemble traditional mediums like paints and inks. Recently I have been creating a lot of blender brushes and below I will show you my step by step method so that you can create one as well. What is a blender brush you ask? A blender brush uses the colours that are already on the screen and manipulates them using colour dilution, texture and characteristics that you set for the brush.
Blender Brush vs Smudge Tool
So why would you want to create your own blender brush instead of just using the smudge tool that has been built into Procreate from the beginning.?
In this post I am going to be discussing the differences between using the smudge tool and creating your own blender brush with the new brush settings.

The Smudge Tool
We’ll start with the smudge tool. This is a feature that has been in Procreate from the start and has recently received some nice updating. The smudge tool can be found on the top right tool bar, just to the right of the the brush tool. One of the biggest advantages of the smudge tool is that it can be used with any brush from your library, turning it into a smudge or blender brush. It works by manipulating the colours that are already on the layer, using the characteristics of the brush chosen. It does not add any colour to your piece.
Each brush has a smudge setting in the GENERAL category of the brush settings giving you the option of choosing the degree of smudge from 0% to 100%. You can experiment with this slider to see how the percentage of smudge works with different brushes. Note if the smudge is set to 0% there will be no smudge effect.

The Wet Mix
Now we move onto the blender brush. Procreate doesn’t refer to any of their preset brushes as blender brushes, however some of the brushes are used in this style. In the brush settings, under the DYNAMICS section you will find a WET MIX option. This is where I create my blender brushes. Basically any brush that uses the Wet Mix is a form of blender brush. This section provides more settings to work with than just the simple 0-100 option that the smudge slider gives. This allows for much more control over customizing the blender brush.

The settings include the following and my experience with them:
- DILUTION – the intensity / dilution of colour the brush puts onto the canvas, set to zero makes the brush colourless
- CHARGE – the amount of colour /effect at the start of your stroke
- ATTACK – the amount of colour/effect as you continue your stroke
- PULL – how strong the pull of your colours will be across your canvas
- GRADE – smoothing of the brush effect
The Advantage of Building Your Own Blender Brush
One of the preset brushes in Procreate 4 that uses this Wet Mix option is TURPENTINE. You can find this brush under the ARTISTIC folder in the brushes. The Turpentine brush blends the colours on the layer with a specified texture and also adds a touch of the colour you have set with the colour picker.


When we select this brush under the Smudge Tool instead, we now get a colourless blending effect that works with the same style as the brush.
Now for the advantage of a blender brush over the smudge tool with a pre-existing brush. In the example below I have used the brush tool with the Turpentine Brush and I have altered the Wet Mix slider settings to achieve three different looks. This is why I enjoy creating my own blender brushes. Where as the smudge tool only allows for a percentage of smudge, the blender brush has multiple settings to play with to achieve many different blending effects.

Two Great Options for More Creativity
You can decide which method works for you depending on what you are trying to achieve in a specific piece. I like that the Smudge Tool works with any of brushes for blending effects. It is easy and handy to use when you are creating in a certain style. A blending brush, however, gives you a greater degree of control over the effects that you can achieve. With a blending brush you can set multiple brushes up ahead of time for your favourite blending effects. This is one of the greatest advantages in creating and using blender brushes.
Create Your Own Simple Blender Brush
Ready to try making your first Blender Brush? Watch the video of my step by step method to creating your own simple blender brush. You will soon be on your way to achieving some really exciting digital effects in your iPad Art.
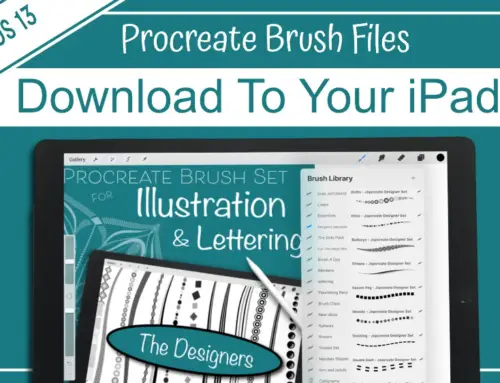
If you would like to jump right in and get blending, you can check out my set of pre-made Blender Brushes.
This set includes 8 of my favourite blending textures that I use to achieve beautiful effects in my art.
Have fun! Go Get Creative.

Thanks for joining me and getting creative. ~ Jane ~
“I found I could say things with color and shapes that I couldn’t say any other way – things I had no words for.” – Georgia O’Keeffe