I have started to build quite the Procreate Brush Stash over the past year. The brush selection in Procreate is one of the best varieties of styles, shapes and textures that I have found in an iPad drawing and painting app yet. They are simple to customize once you get the hang of the settings. This extensive control also makes it easy to create your own. I often alter my brushes as I go, depending on what I need. However I do have my go-to basics that I use for all my designs
 |
 |
Basic Library to Build Procreate Brush Stash
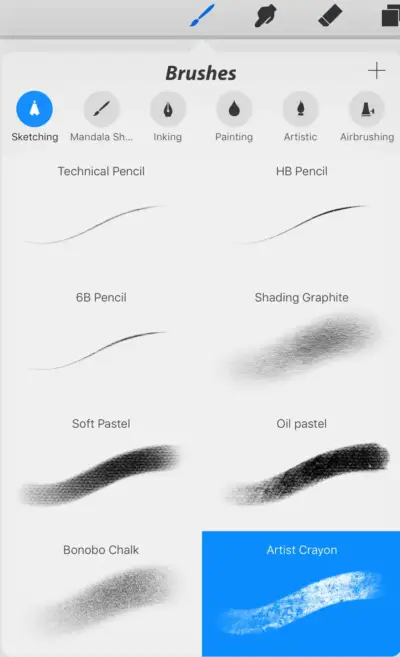
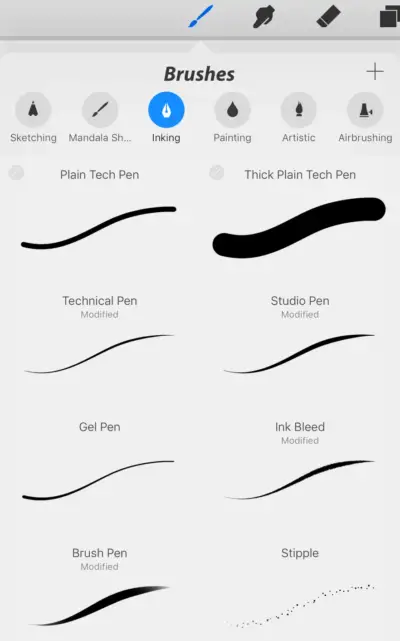
Procreate starts you off with a large selection of different styles of brushes. There are 8 different styles in each of it’s many different brush folders. So you have a wonderful library to start off with. Once you get familiar with these brushes, you can then duplicate and modify them to best suit your designing needs. From there, you can then go on to create your own from scratch.
Ease of Control and Customizing
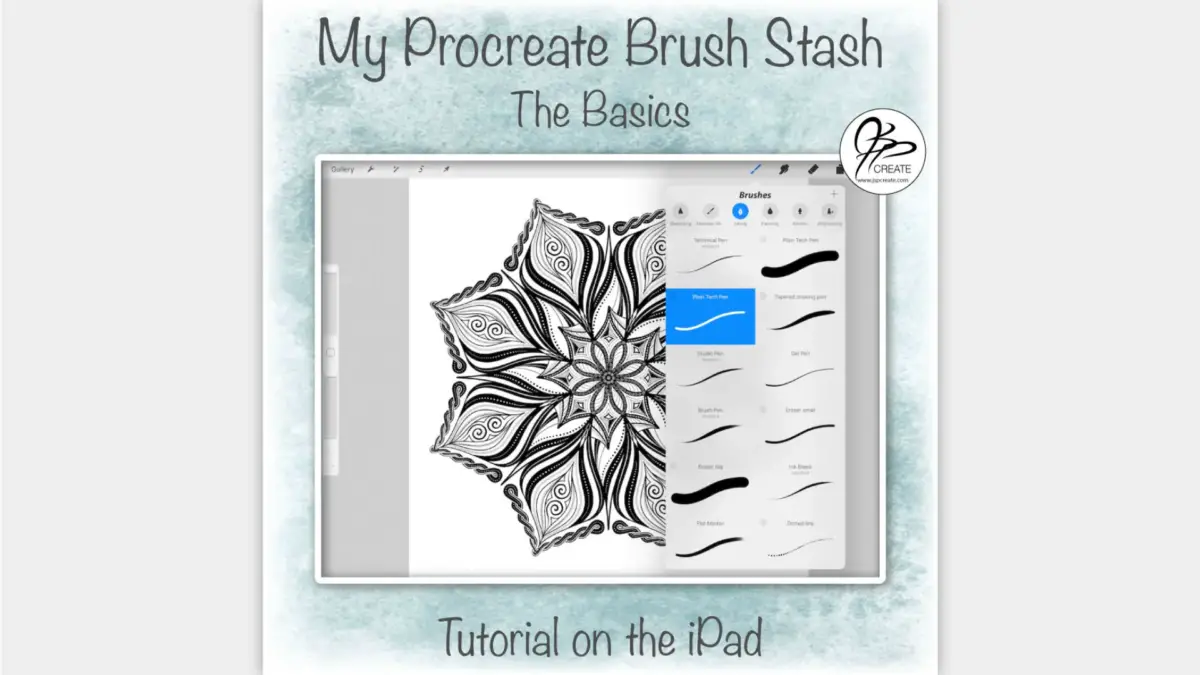
I like to modify my brush settings regularly in order to achieve different results based on what I am designing. I have however, settled on a few basic brushes I have created that I keep at the top of my folders and use every day when laying out my drawings.
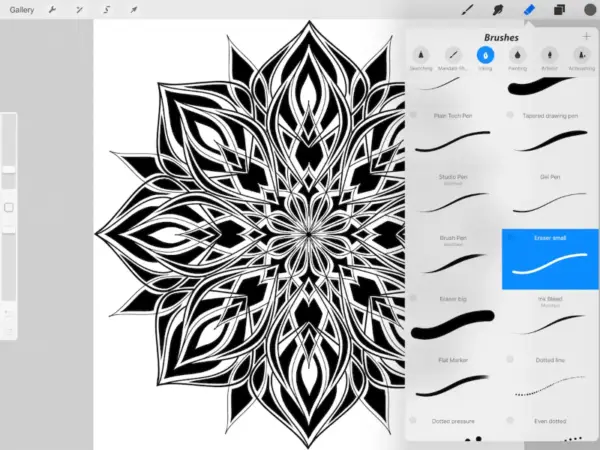
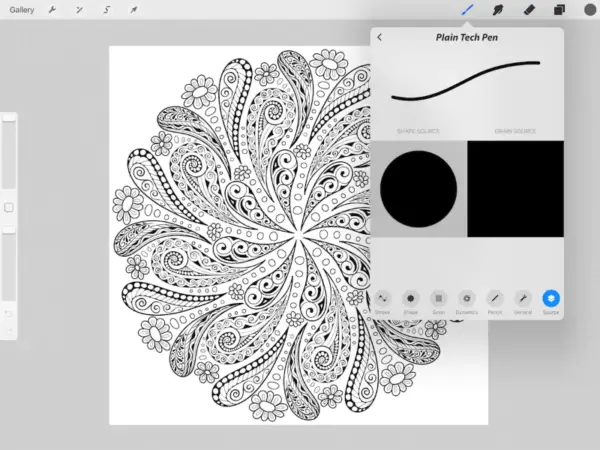
An Eraser to Match Your Pen
Procreate lets you use all the same brushes for it’s eraser and smudge tool as it does for it’s pen tool. The nice thing about this is you can erase with the same texture that you drew your design. This allows you to keep consistency in your design. I could use my Plain Tech Pen as my eraser as well. However I will show you how I tweak it just a bit to get a better suited eraser for my needs.
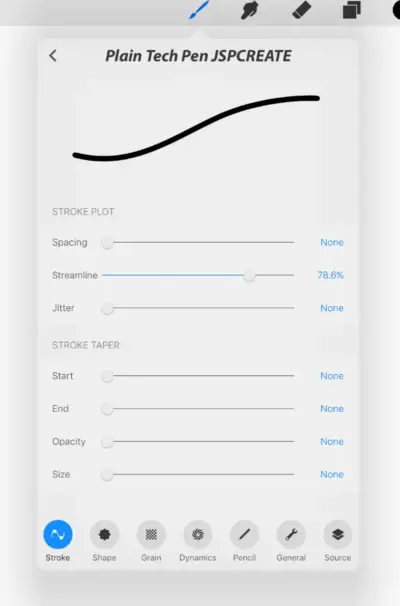
Walk Through
In the above video, I walk you through my process of setting up my basic brushes. I explain the settings and how they affect your results, so you can choose the settings that work best for you.
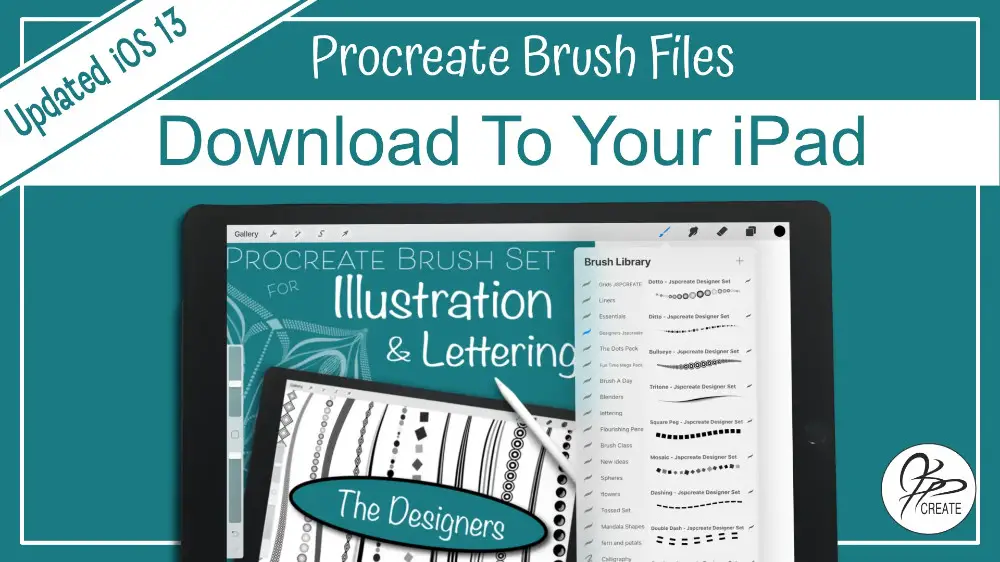
Import Your Own Textures and Shapes
Procreate also provides you with a large library of shapes and textures for you to work with when creating your own brushes. You can bring in your own images through your camera roll or cloud service and use them to make even more unique brushes. The combinations are endless.
In future posts and videos, I will share more of my brush stash with you. I will show you how to use the settings to help you achieve the results you are looking for.
Enjoy, and Go Create
Want to Learn More about Procreate Brushes?
Check out my full class where we walk through 20 custom brushes
done in the updated Procreate 4.0
Thanks for joining me and getting creative.
“I found I could say things with color and shapes that I couldn’t say any other way – things I had no words for.” – Georgia O’Keeffe