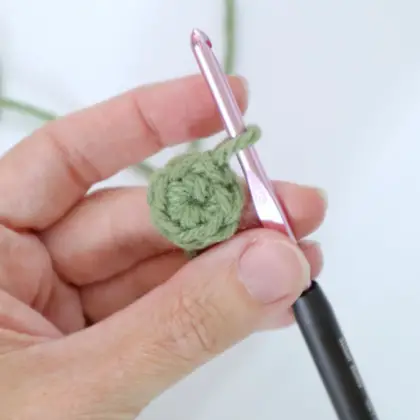
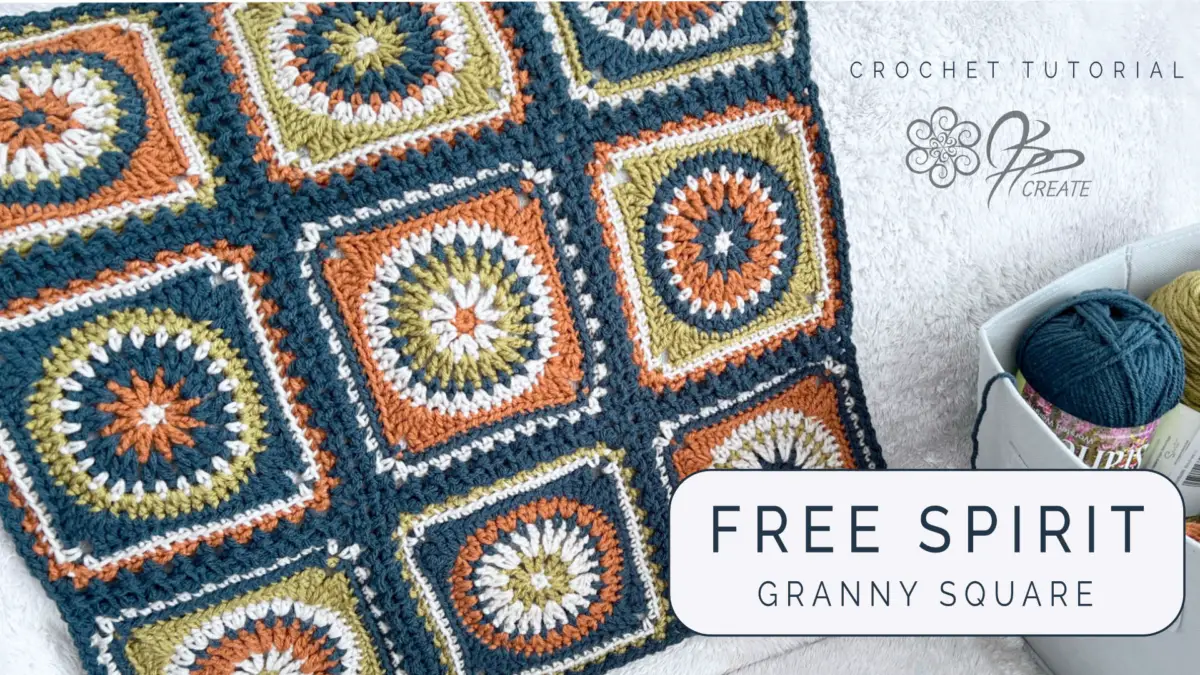
The Magic Ring is one of those great little techniques, that gives your piece a nice, finished look. It is, however, a technique that confuses many, that is, until you have done it, then you realize how simple it can be. So if you have been wanting to learn this technique, or you find you are struggling with getting this right, then this is the one for you.
In this tutorial I will explain the process of how I make my Magic Rings. In the video, I will walk you through the step by step process, nice and slowly, so that you can follow along, and get the feel for this useful crochet technique.
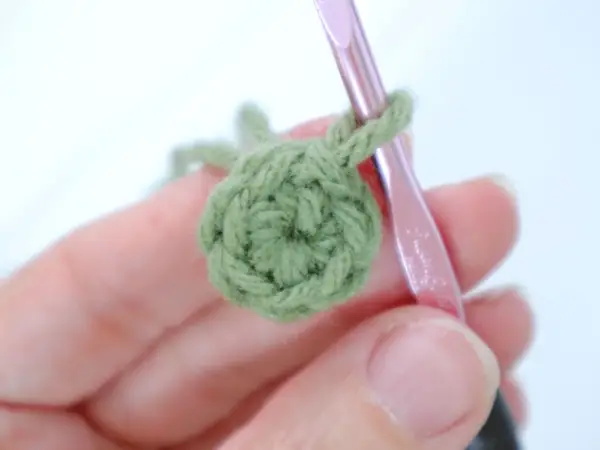
The standard way to start any circular crochet piece is with a chain ring, but sometimes you don’t want that hole in the center. This is where the Magic Ring comes in handy. It is quick and easy to do, and allows you a nice solid center when you are done.
No extra tools are required, just your hands, yarn and your crochet hook.
I will briefly go over the basics in this post, but the video tutorial below will walk you through the entire process. So be sure to scroll down and watch, and then work through it along with me.
Suited for Any Stitch Type
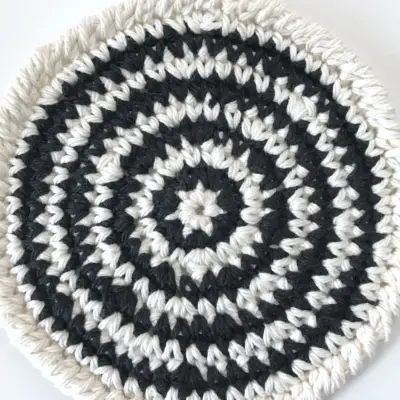
In this tutorial I will show you how to work single crochet into your magic ring, but any stitch type will work. You can work half double crochet, double crochet or even trebles into this ring.
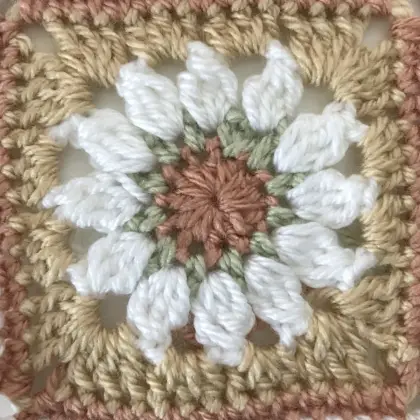
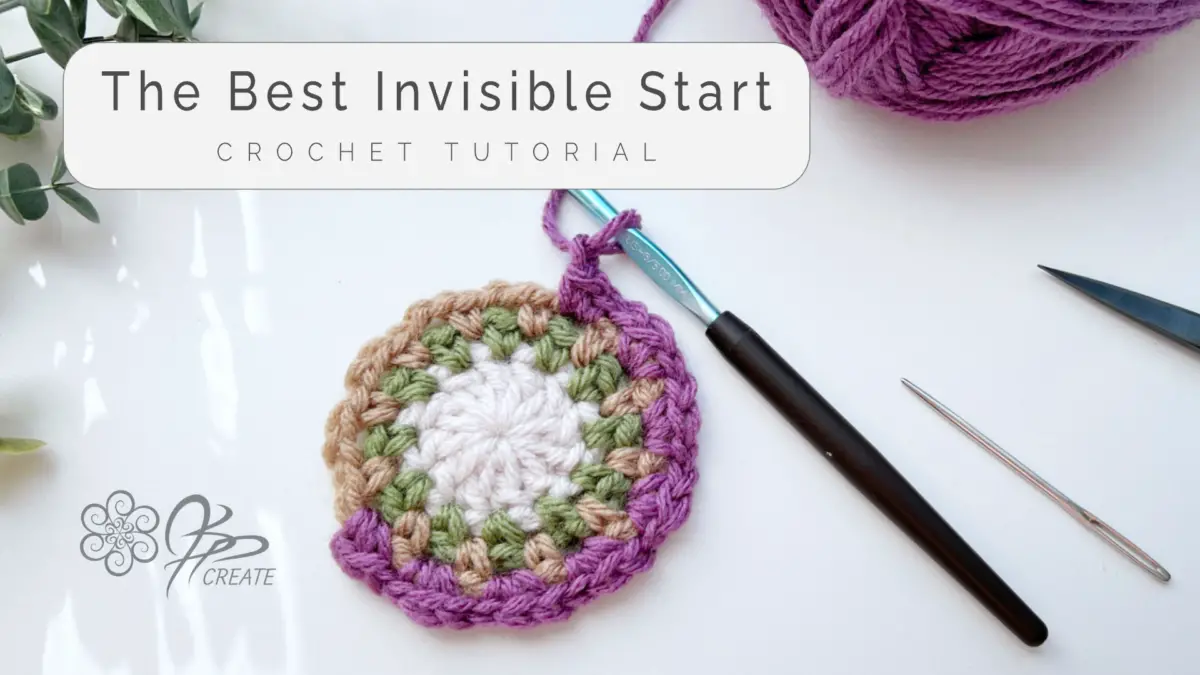
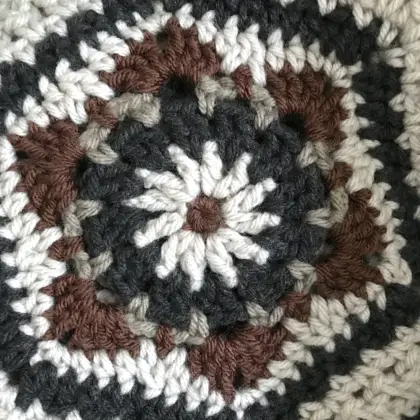
As you can see in the examples, a closed ring can give a nice solid look to your piece. With colour work it closes in any gaps, and with a one colour piece it creates an even texture throughout.
When to Use the Magic Ring
So it is totally up to your preference where and when you would like to use the Magic Ring in place of a Chain Ring. The Chain Ring works beautifully when you are looking for a lacey look and your piece has alot of open work to it. Then the center hole fits right in with your design. However, if you are looking for a solid piece or want a solid coloured center, such as in a granny square flower, you may prefer to use the Magic Ring.
The Steps – in brief
These are the general steps – follow the video below for clear instructions
- Lay Yarn over upright palm, cut end towards you, working end away from you, hold in place with thumb
- Turn palm over, wrapping yarn over first two fingers, hold in place with third finger
- Rotate palm back again, while wrapping yarn under hand and crossing previous yarn, hold in place with thumb

4. Turn palm towards you again, wrapping yarn over three fingers this time, closest to your wrist side, hold in place with baby finger
5. Insert hook under first strand and over second strand and pull through
6. Turn hook so loop is twisted on hook

7. Working over top of strands, hook working yarn again and pull through as ch 1.
8. Work required number and type of stitches into loop
9. Once you have worked the number of stitches required by pattern, keeping last stitch on hook, pick up cut end of yarn

10. Hold thumb and finger at base of last stitch and pull on cut end gently but firmly
You are done. – Watch the video to see how this is done.

What is the Difference
Below left is a chain ring with 12 single crochet worked into it. It can be pretty for a lacey look, but does leave a large center hole
Below right is a magic ring with 12 single crochet worked into it. It is snuggly closed to give a solid look to your piece, works great for centers such as flowers or geometric designs.

Confused yet? No problem, I have you covered. Follow along and I will walk you through the Basics, step by step.
Watch The Tutorial
Thanks for joining me and getting creative.
Try something new everyday and life will open new doors for you.
