Let’s Learn To Draw
Drawing can be a great way to relax and destress, not to mention how much fun it can be. All you need is a pencil and some paper. It is portable enough to take with you and do, anywhere and anytime.
You may be saying “but Jane, I can’t draw”, and I say, sure you can, and I am here to help. In this free course you will learn to draw simple but beautiful flowers. I am going to show you how to I use very simple and basic shapes to create an awesome flower design.

There are 7 lessons in this free course that will lead you towards simple ways to learn to draw, each one laid out in a blog post, which includes a video tutorial and free downloadable worksheet. In each lesson, I will introduce you to a new shape. In the final lesson, we will put them all together to create a beautiful little flower.
With these ideas you will find yourself doodling and drawing fun designs in no time. So grab a pencil and some paper and join me in this first lesson. Let’s get drawing.
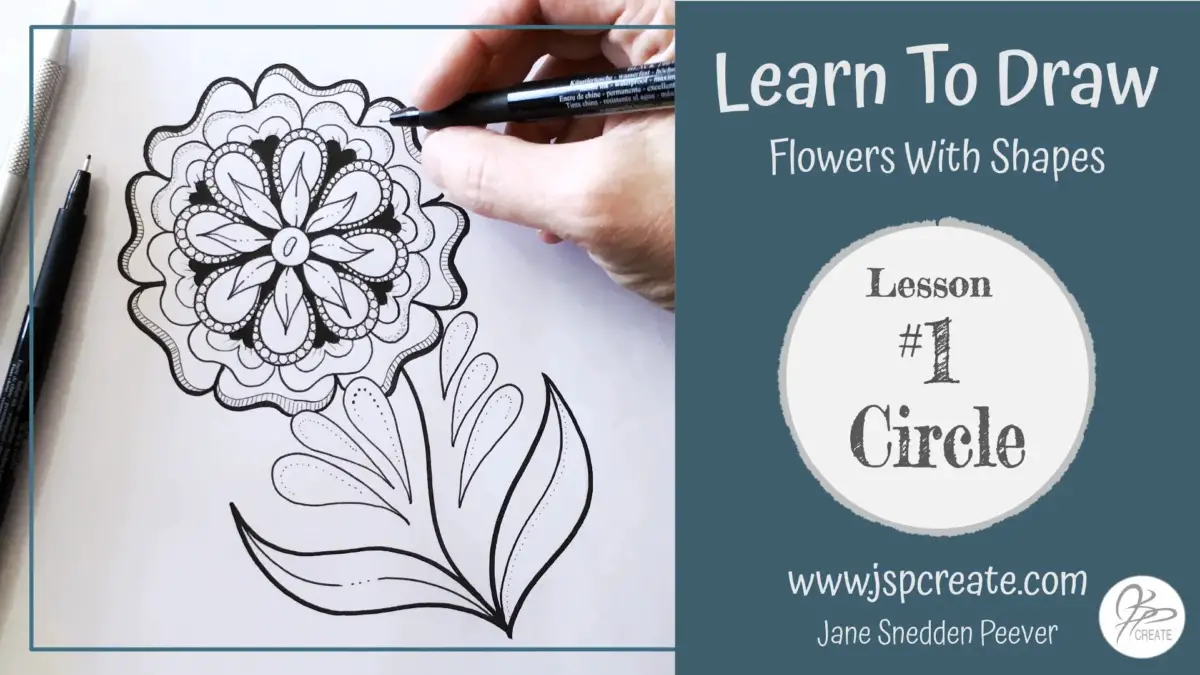
Learn To Draw Our First Shape – The Circle
We will be starting Lesson #1 with the Circle. Doodling is all about letting your pencil flow and not worrying about getting perfect shapes. So don’t worry about drawing perfect circles, this lesson is all about anything circular. Ovals, circles, beans, and more.
I have set up the worksheet so that you do have some nicely shaped circles to practice on. This is to help you get the feel for the shape. Once you have practiced on the worksheet then it’s time to go freeform. The more you draw your circles the more relaxed you will become. And you will start developing your own circle style in no time.
Full Circle
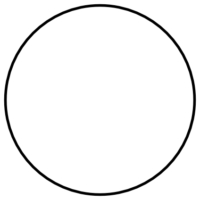
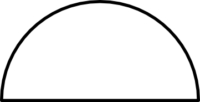
In this lesson we will learn to draw both full circular shapes and half circular shapes, or semicircles.
Semi Circle
Size
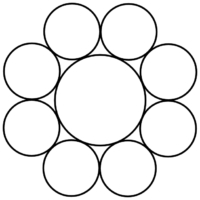
By using different sizes of circles we can create a sweet little flower design
You can play around with using a large circle in the center and small ones around the outside
or you can try a small circle in the center and larger ones around the outside.
Arrangement
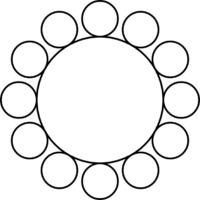
The next technique we look at is how the circles are arranged
we can draw our circles right up next to each other so they are touching
or we can arrange them around the outside with empty space between them.
Check Out More of My Drawing Classes
Shape and Dimensions
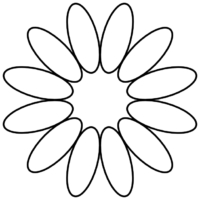
Circles do not have to be perfectly round
Ovals count too, so stretch those circles out for a different look
They can be long and narrow, or short and wide
Overlap
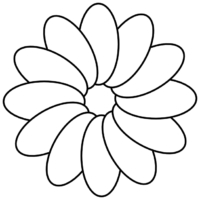
Our last technique is overlapping
Here we are placing the circles so close together that they overlap
You can leave all the lines in to create a lacy look, or you can erase the lines out, so they give a solid overlapping appearance.
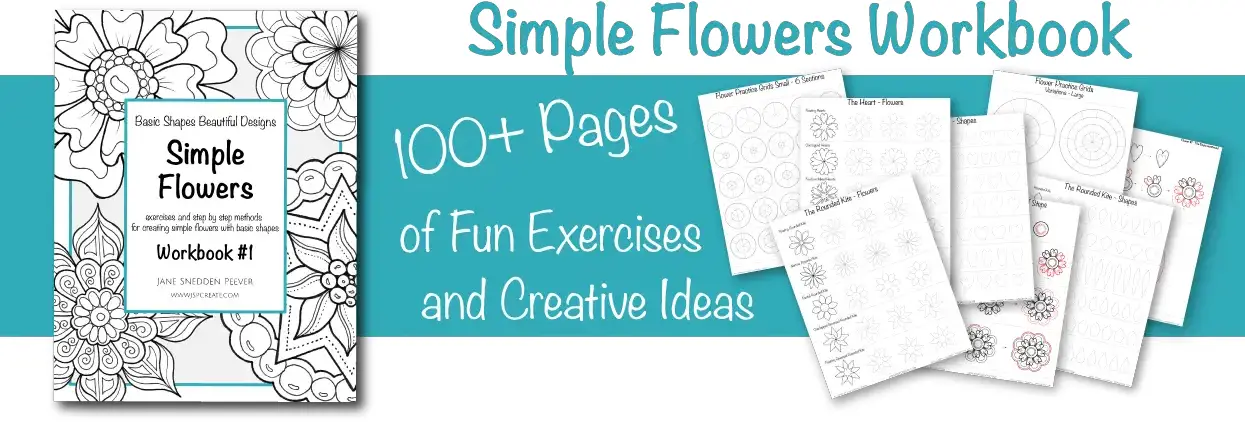
Check Out My Full Workbook and Learn To Draw All Kinds of Shapes
Ready To Get Drawing?
Watch The Video Tutorial Here
Remember, practice is the best way to improve on your drawing skills. So have fun and doodling and I’ll see you in Lesson #2 where we will learn all about the Teardrop shape.
Enjoy and I’ll see you in the next tutorial.
Thanks for joining me and getting creative.
~ Jane ~
“I found I could say things with color and shapes that I couldn’t say any other way – things I had no words for.” – Georgia O’Keeffe

