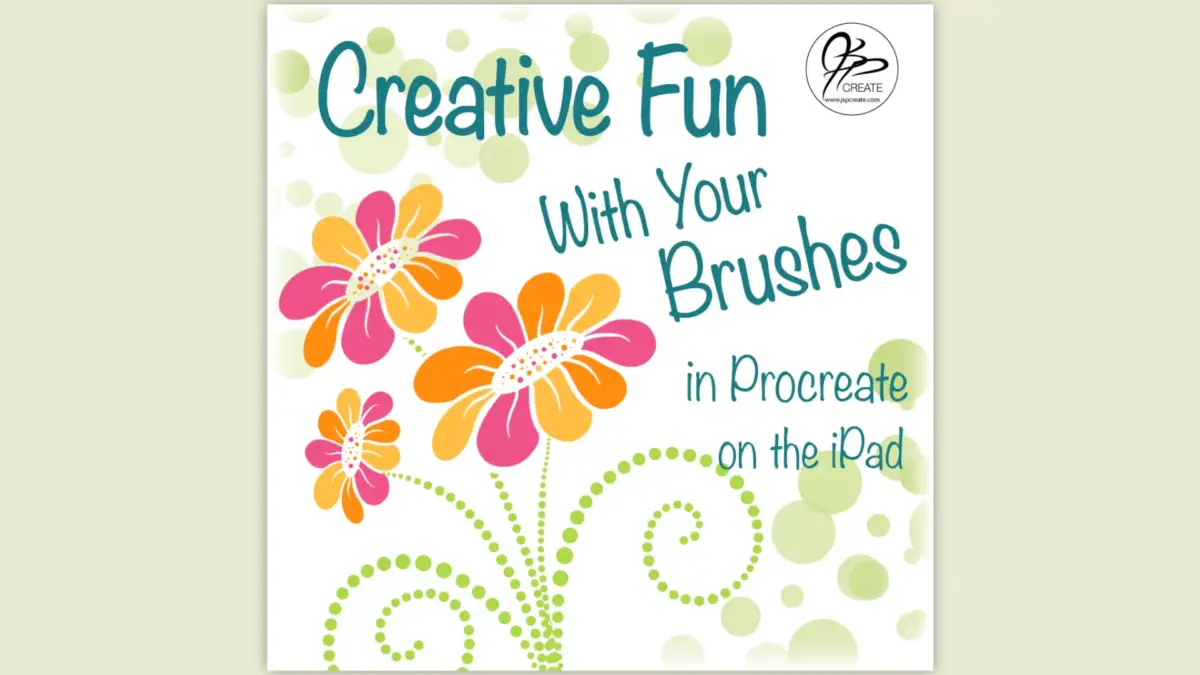
Today we are going to have a little fun with our custom flower brush in Procreate on the iPad. Last week, I showed you how to create a simple brush from one of your own doodles. This week, I will show you some of the ways you can use your brush and have fun embellishing it to make a variety of designs from just one simple drawing.
Start With A Custom Brush
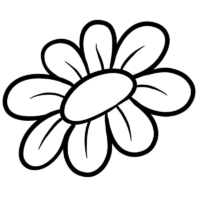
Let’s start with a new canvas. My norm is 8″ x 8″ and 300 DPI. This gives us lots of layers, but still gives good detail. I will be using a custom brush in this tutorial however this technique will work with any simple drawing. If you are making your own design or custom brush for this tutorial, make sure all the petal shapes and centre are closed. We want these shapes to be completely separate so it is important that there are no gaps in your lines for this tutorial.

Create A Fill
We are now going to make our flower layer the Reference Layer. Touch the layer once and an options menu pops up just to the left of the layer. Choose the REFERENCE option at the bottom of the list, as seen in the image below on the left. This layer is now the reference for our fill layer. The lines on this layer will act as a guide for fills on any other layer.
Create a new layer above your flower layer. Choose a colour, and making sure you are on your new layer, start to fill the petals. The image below on the right is the finished flower fill on it’s own layer. Be sure to turn “off” the REFERENCE after you are finished with your fills, or this layer may affect anything you try to draw going forward.
Note: A fill is done by touching and “dragging” the colour “dot” and dropping it into an outlined space. Do this to all the shapes and then turn off the original outline layer to see your filled shapes.


Now For The Details
Once you have your basic fill in place, you can start to draw in more detail….or erase out some detail.
In the image below on the left, I have used one of the brushes in eraser mode to remove a center line from each petal. One of my favorite things about the brushes in Procreate is that they can also be used in eraser mode just as though you were drawing…except you are erasing.
In the image below on the right I have used a dot brush to add in some extra detail in green. Details that are added with a colour brush can be done on separate layers. You will then be able to alter them later without affecting your original fill. Detail that is erased out has to be done on the same layer as the original fill or it will have no effect. For this reason it is good to make a backup copy of your original layer and lock it down in case you change your mind later on.


Layer Multiple Versions
Adding multiple coloured versions can add even more interest to your design. I created the flower below on the right by doing two different coloured fills on two different layers.
Below on the left you can see I used my eraser brush again to create some funky detail on each petal.
Then below on the right I made a second fill in a different colour on it’s own layer, added details and erased the centre. I then rotated this layer to create a unique design.


Create A Design with Your Custom Brush
Now that you know how to make a fill, add details and create multiple layered fills, you can go ahead and create a variety of designs. Illustration brushes provide a short cut by giving you a ready made drawing.
Below on the left I have created three different filled versions of the flower brush, on their own layers and resized them. This time I used multiple colours in each fill layer. I then added my detail in by using some of my dot brushes, staying with the multiple colour theme.
Below on the right I have added a fun stem design to bring my flowers together into a fun little flower design. I keep each element on it’s own layer so I can move them around and resize them as I like.


Eraser Brush vs Colour Brush
There are pros and cons for using the eraser brush versus the colour brush. If you want to be able to resize your detail or change their colour, using a colour brush is best. If you like the look of an erased element, but don’t want to use the eraser, just use the same colour as the background. There is a downside of using this technique. If you want to change up your background colour, you will then have to change the colour of all of your details to match. This can be tricky and time consuming.
Below you can see I am working on a black background. I could use my flower as an eraser brush and remove the pattern outline, leaving a white outline.
NOTE: I would have to do this from a black fill layer. You are not able to erase from the “background” itself in Procreate.
This method however will not allow me to resize each stamp. I also cannot rearrange them, because they are permanently part of (or removed from since they are erased) the black fill layer. So instead I have used a white colour brush to make them look like I erased them. I have each one on it’s own layer and can move and resize them as I please.


I would love to see what you create with your brushes. If you like to share your creations on instagram, use the hashtag #jspcreate. I would love to see your awesome creations.

Want To Learn More? Check out my full class
I share my techniques on getting your drawings onto the ipad and adding colour and texture to bring them to life.
Thanks for joining me and getting creative.
“I found I could say things with color and shapes that I couldn’t say any other way – things I had no words for.” – Georgia O’Keeffe

