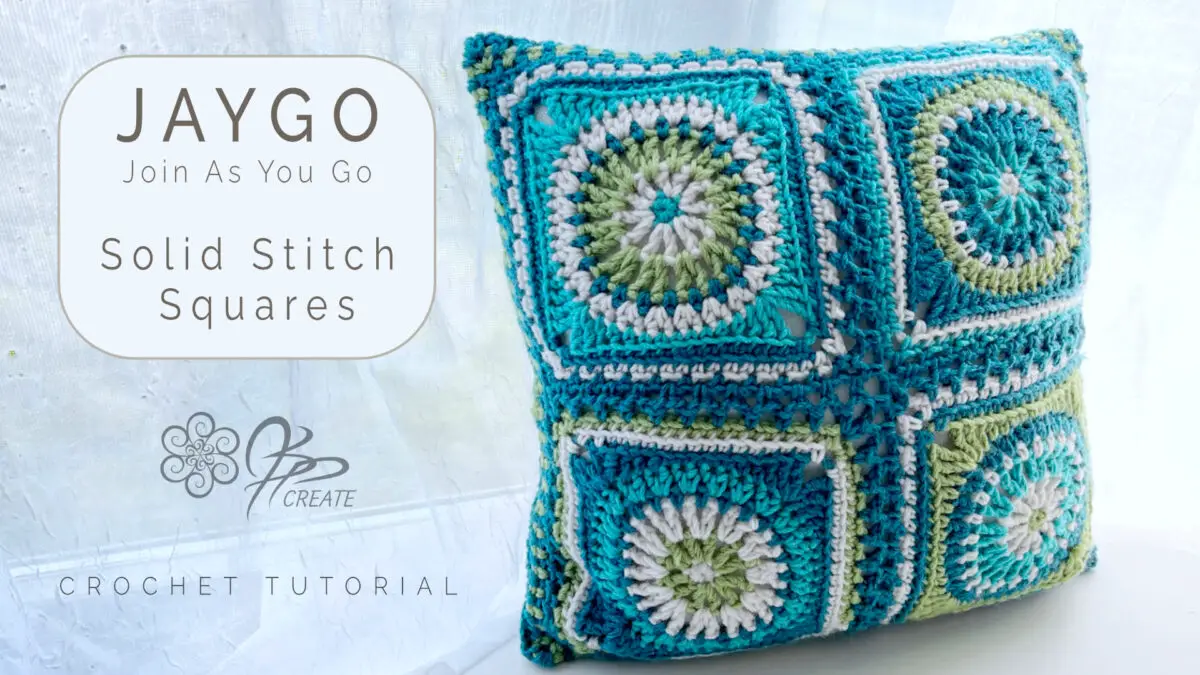
Hey Gang, Jane back with another crochet technique tutorial on the JAYGO Crochet method. This one is in response to all the requests for a demonstration of this method on a square that has a solid stitch edge.
My original tutorial for the Join As You Go or JAYGO method as it is often referred to, was done on my Zippy Square which has a chain stitch border, but the great thing with this method is adaptable to work for almost any square and today I will show you how to use it on a square with a solid stitch border, and what I mean by that is no chain stitches, just straight single crochet or hdc or dc and so on.
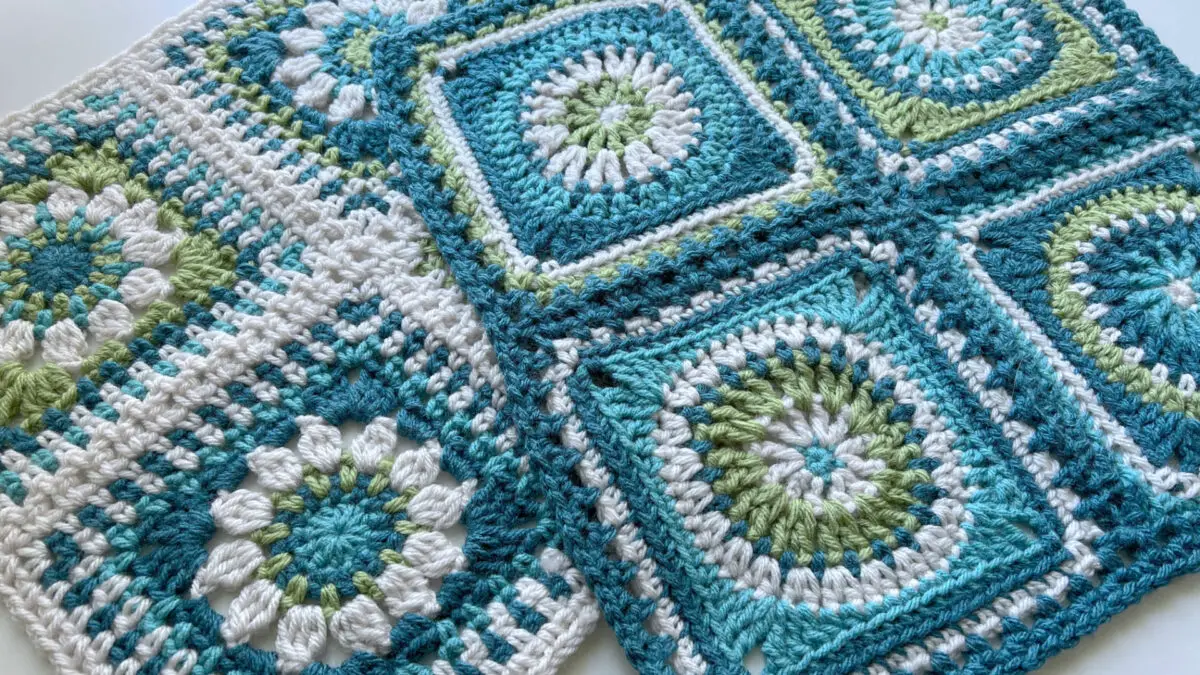
I will be using my Free Spirit Square, because it has a solid single crochet edging and because I like to do my demonstrations with a purpose, I will be joining four of these squares using JAYGO crochet and working it into a simple pillow cover.
I will be showing you how to create the front. You will of course also need a back to make it a pillow. I like to use a different square in the same colour palette to create a back, then I get to have one pillow with 2 looks. For the back of this pillow I used the Mystic Harmony Square and since it had a chain stitch border, I used the original JAYGO method.
If you’re looking to explore more captivating color combinations for your squares, hop on over to my Instagram and Pinterest. I love sharing lots of pics of my colour experiments there!
If you would like the ad-free pattern for the Free Spirit Square as a PDF, with Symbol Charts, Find it in my shop, HERE,
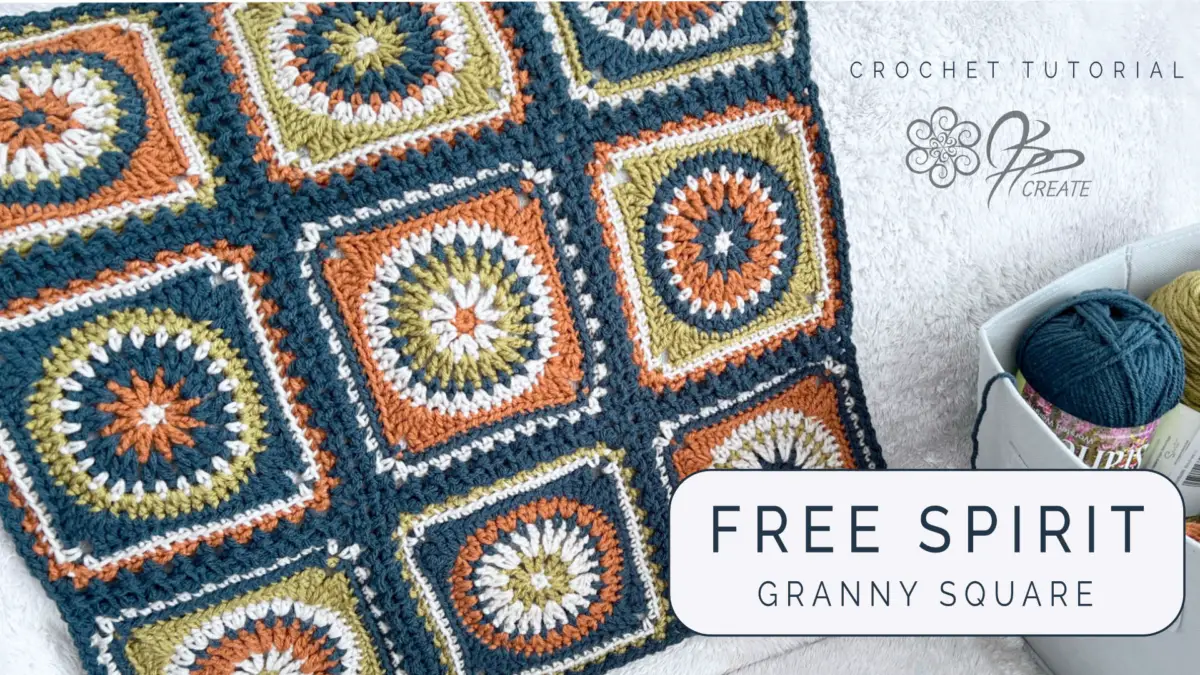
Now this tutorial is not specifically about making this pillow, so there is not a specific pattern for the pillow itself, but I figured if I’m going to show you how to join the squares, I like it to be useful, so a pillow it will be. But you can also use this method to make blankets and I will show you in the video, where the repeats are to add more squares with time stamps in the description so you know where to keep starting from for the repeat.
I also received alot of questions on where to work into the corners at the junctures of the four squares, so I will also be showing you in the video how to add stitch markers along the way to make this a little easier to find those spaces you want to work into.
Note on Chain stitch
In this tutorial I will be using a chain 2 in my edging stitches, but I have found depending if you are a loose or tight crocheter and what you are trying to achieve, a chain 1 will work just as well. In fact, just to experiment, I remade this pillow top a second time, with a chain 1 in place of the chain 2’s and it worked out nicely and even created a bit firmer pillow top.
When making blankets you like to have a looser feel and pillow tops maybe can be firmer. But as always, I say experiment and don’t be afraid to rip it out if you want to do it differently, after all the work you put into your squares, it is worth getting the finishing look you want.
More Information on Hooks Sizes, Yarn Weights and Crochet Language
Hook Sizes see the Craft Yarn Council’s Page Here
For Standard Yarn Weight Information See this Page
A Handy PDF from Annie’s on the difference between UK and US Crochet Terms
A Nice Explanation from LoveCraft’s on The UK and US differences
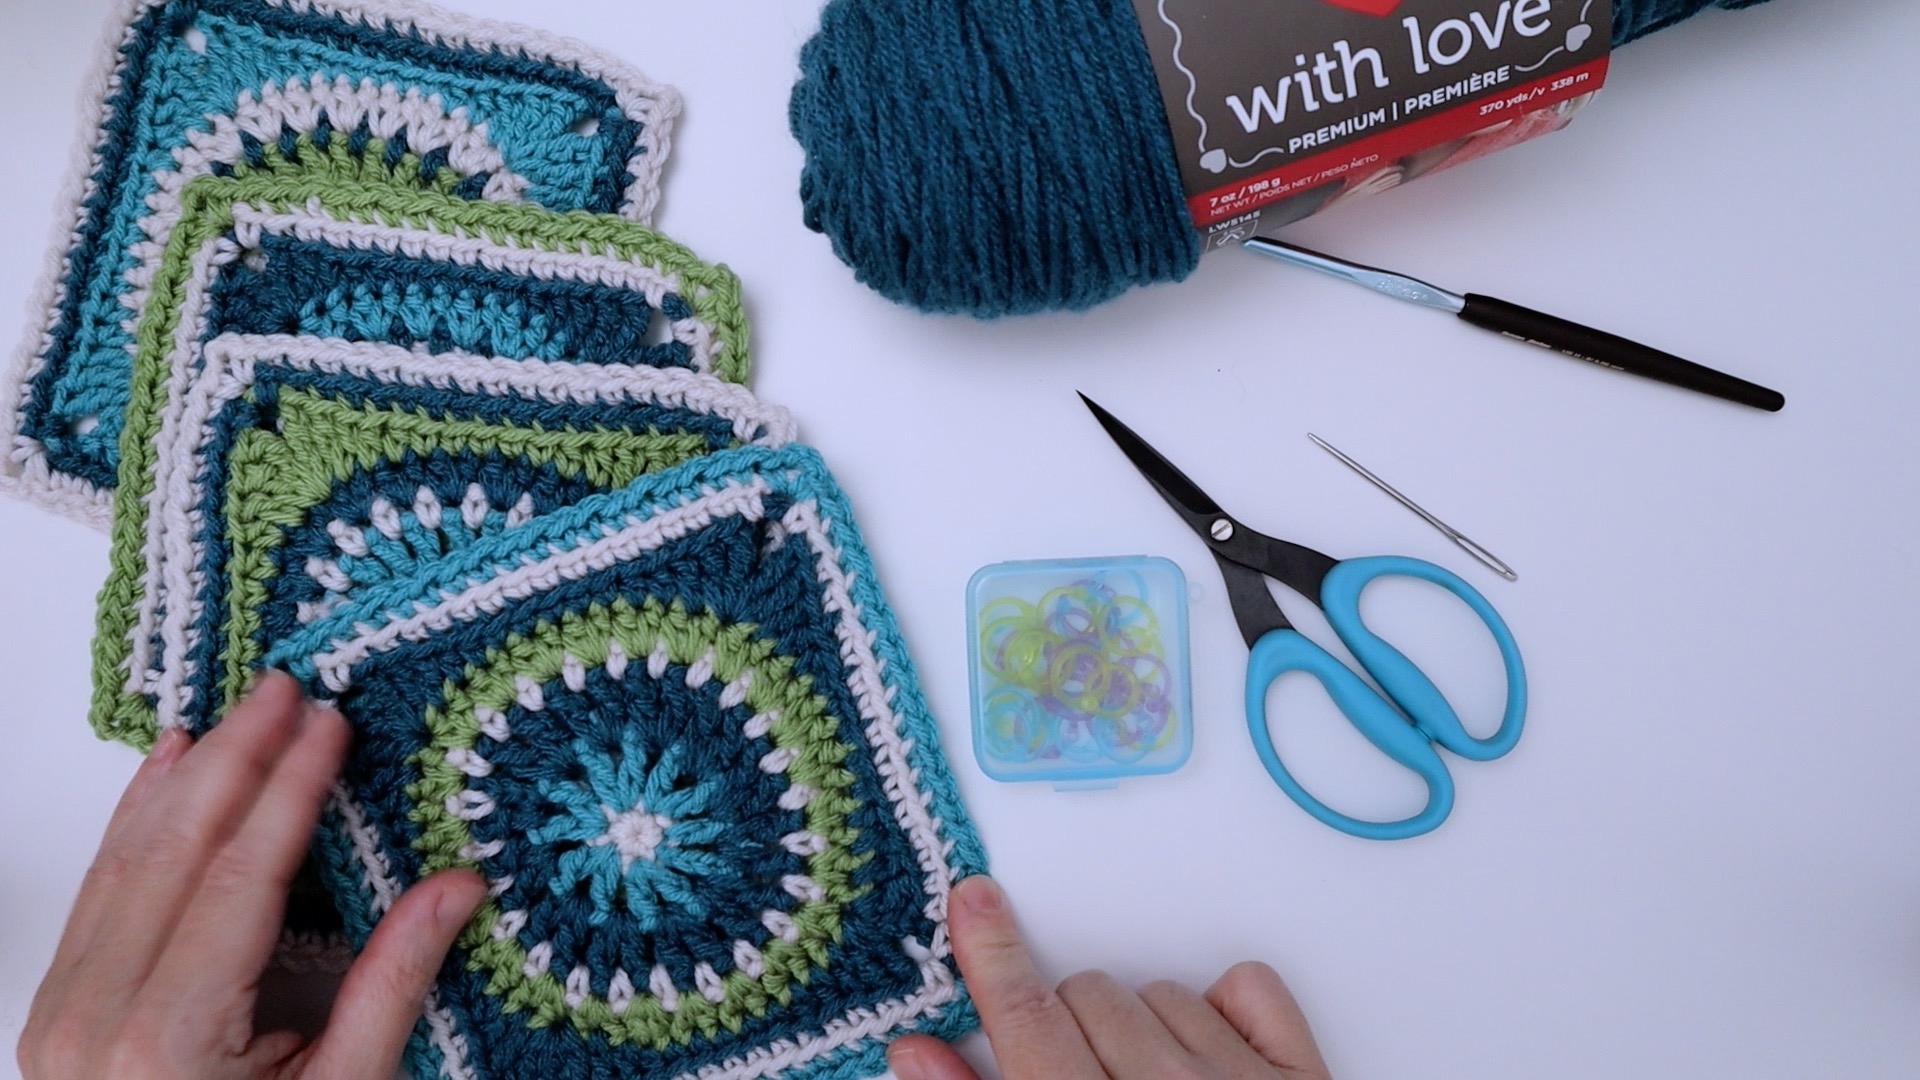
JAYGO Free Spirit Square Pillow Supplies
Skill Level:
Beginner Friendly
Tools and Supplies:
The Yarn used in this pattern is a Worsted Weight #4
The Colours I’m using today
small amounts of 4 different colours of yarn
- Parchment – Bernat Premium
- Mallard – Red Heart With Love or alternative Real Teal – Bernat Super Saver
- Lettuce – Bernat Premium
- Aqua – Bernat Super Saver
Hook: 5.00 mm US 8 / H
My Favourite Hook is the Susan Bates Ergonomic Silvalume
Other Supplies:
- Pillow Form – I used a 16″ pillow form – 100% acrylic – Washable
- Scissors
- Yarn needle for darning in ends
- Stitch Markers with a split in them ( removable )
Finished Size:
Free Spirit Square – 7″ x 7″
Pillow – 16″ x 16″
Abbreviations:
ch – chain
st(s)– stitch(es)
sl st – slip stitch
sc – single crochet
sc blo – single crochet back loop only
hdc – half double crochet
dc – double crochet
tr – treble crochet
lp(s) – loop(s)
yo– yarn over
rnd – round
beg – beginning
prev – previous
sp – space
sk – skip
rep – repeat
dec – decrease
Cont – continue
JAYGO Crochet Method
The best way to learn this is to follow along with the video tutorial below.
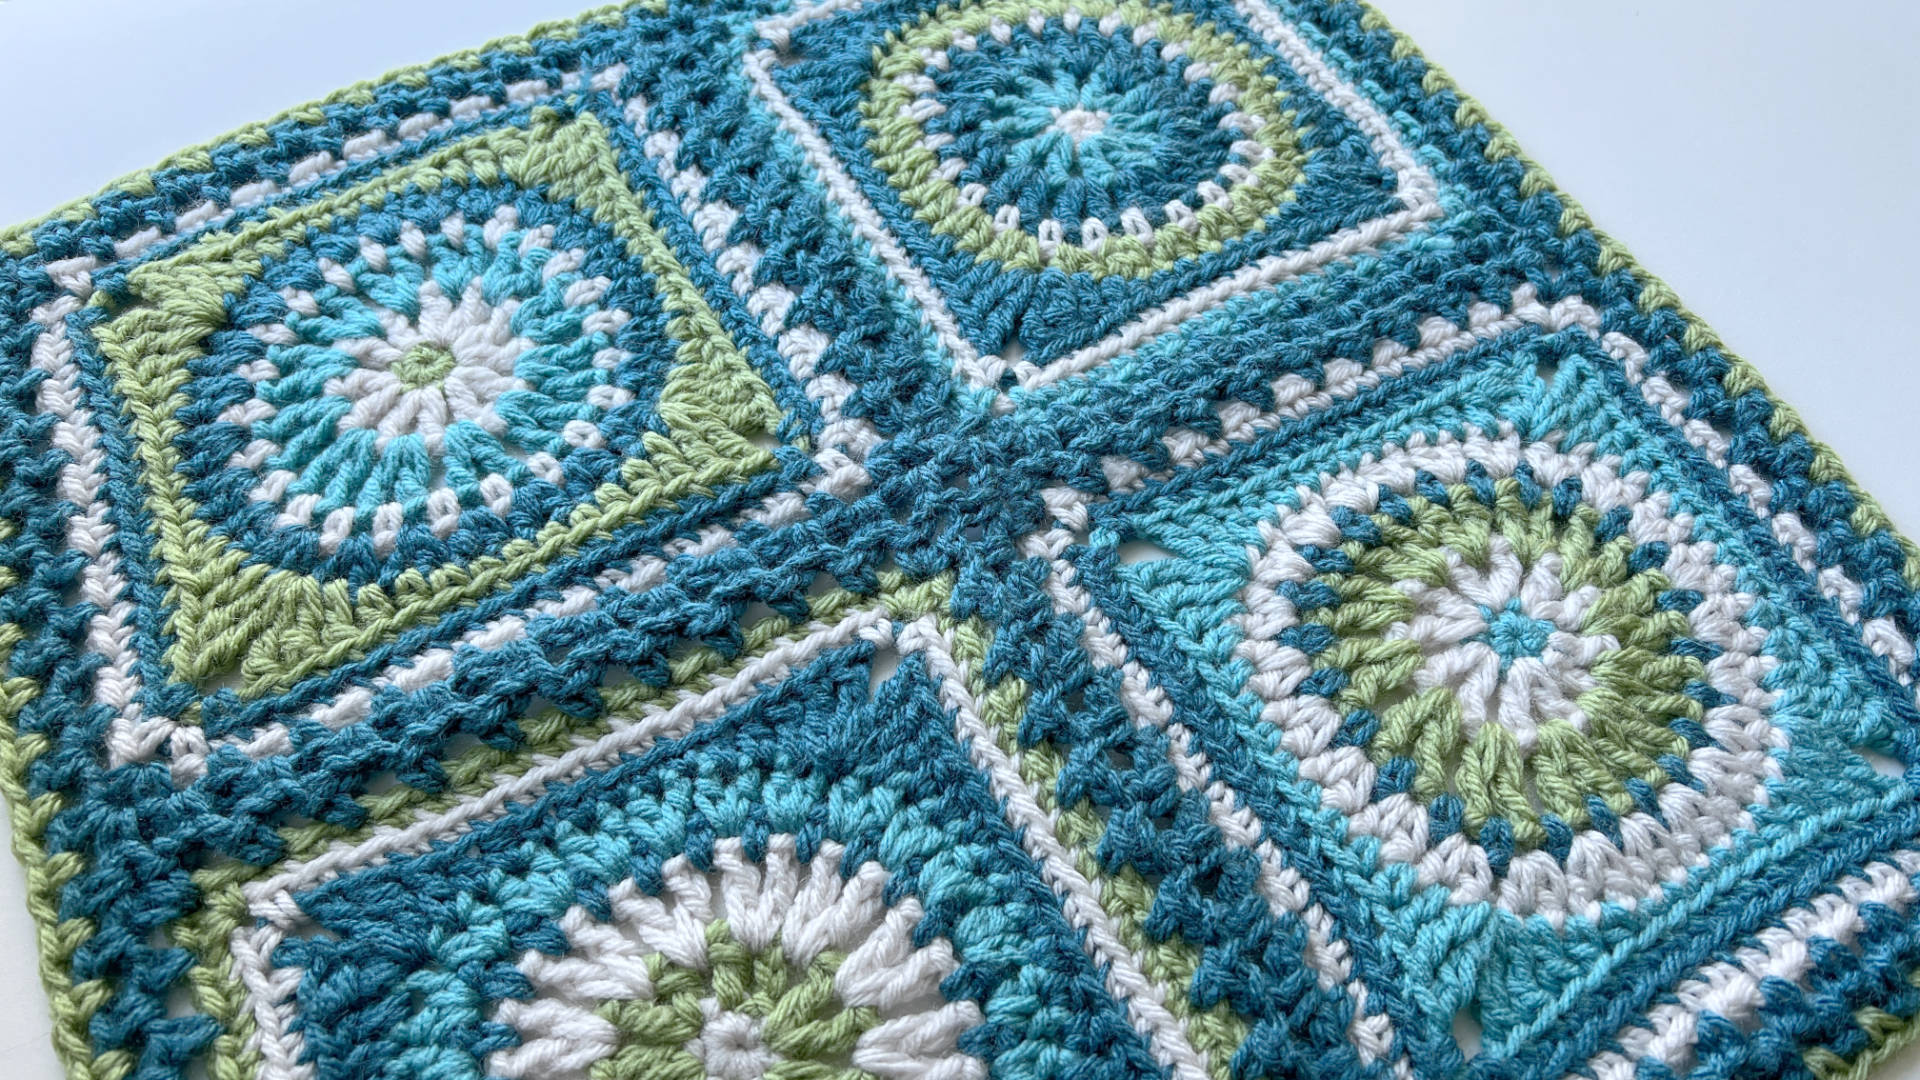
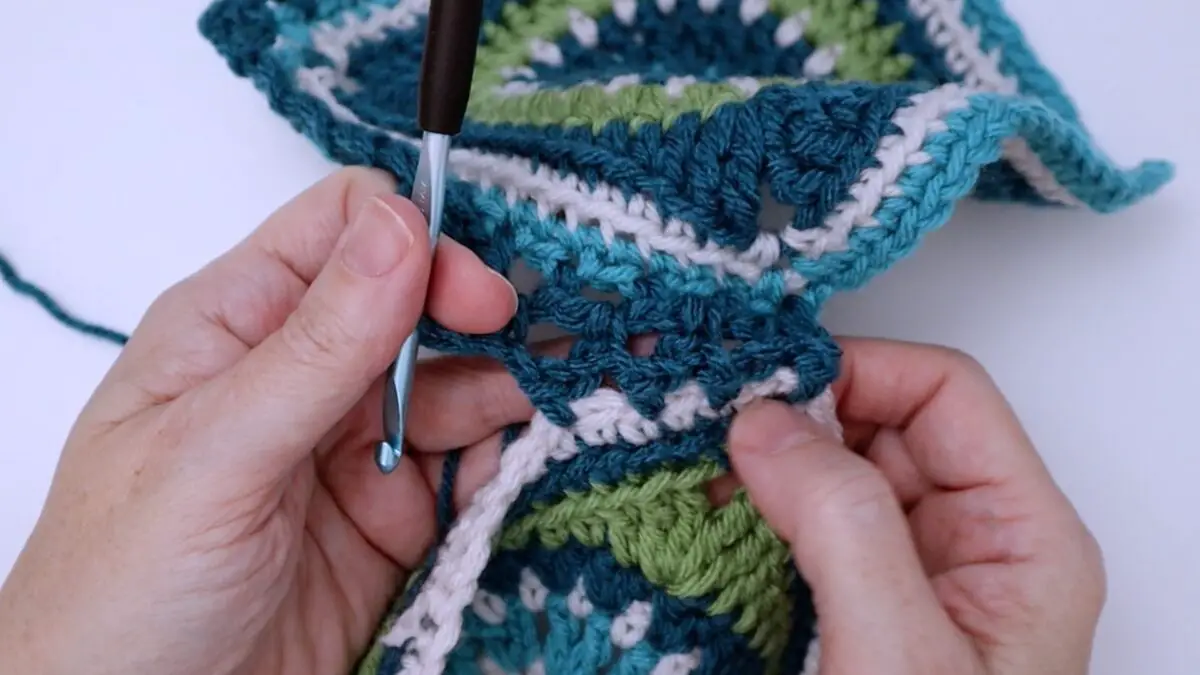
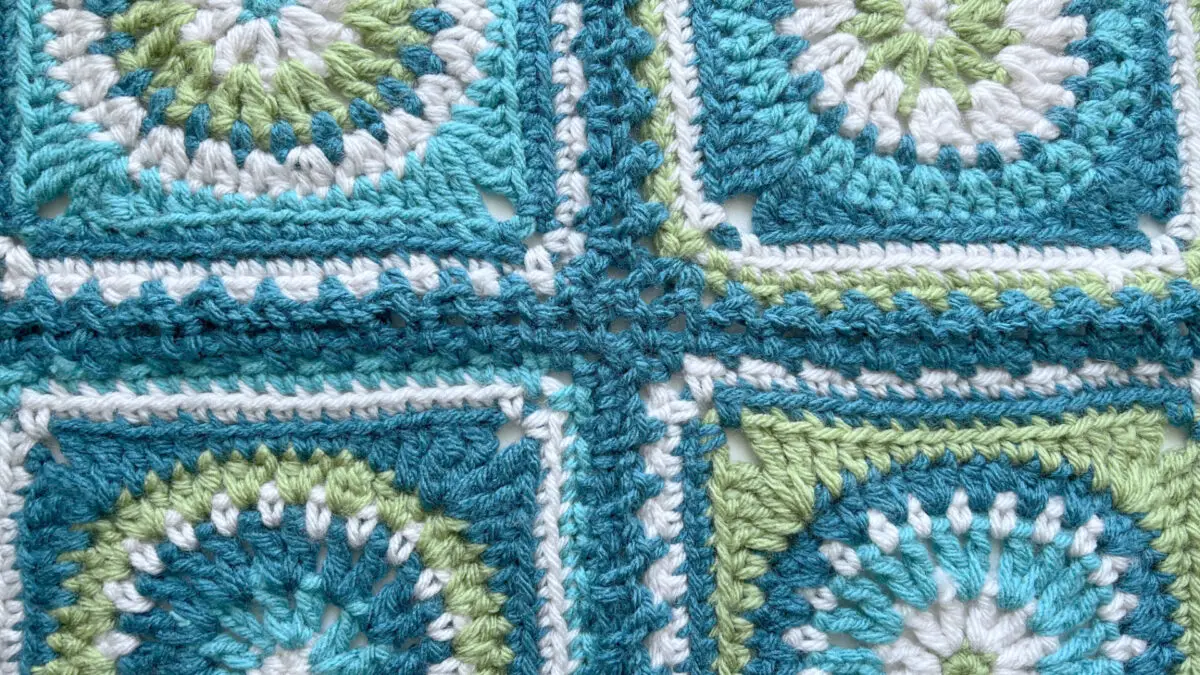
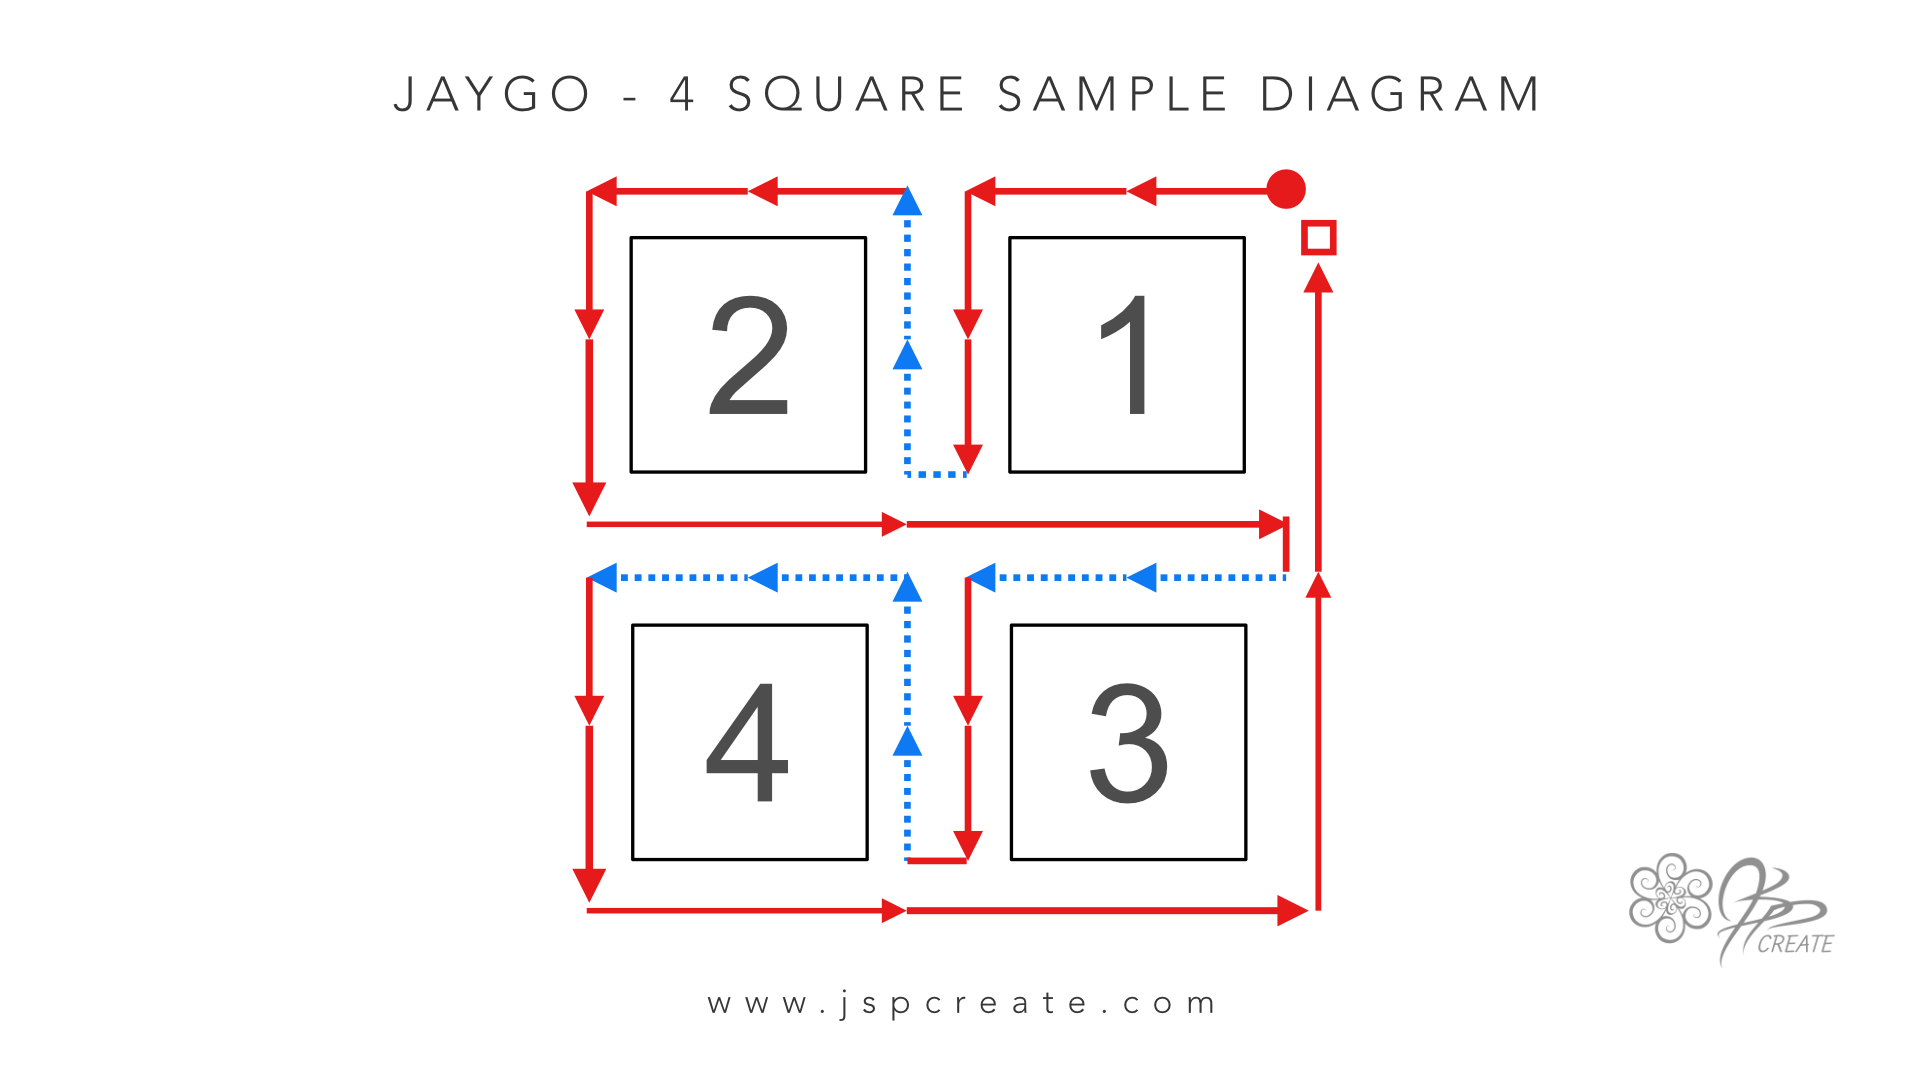
I will give you a few close up images here with the diagram (below) to help you visualize what is going on.
This method of Join As You Go – JAYGO crochet uses what I call a lacey join. That is it creates this lacey section between the two squares and gives your project some movement.
We are just joining 4 squares in this tutorial, but you can join as many as you like to make a blanket, or adapt it to create sweaters or scarves. The video tutorial will show you where the repeat section is to add more squares.
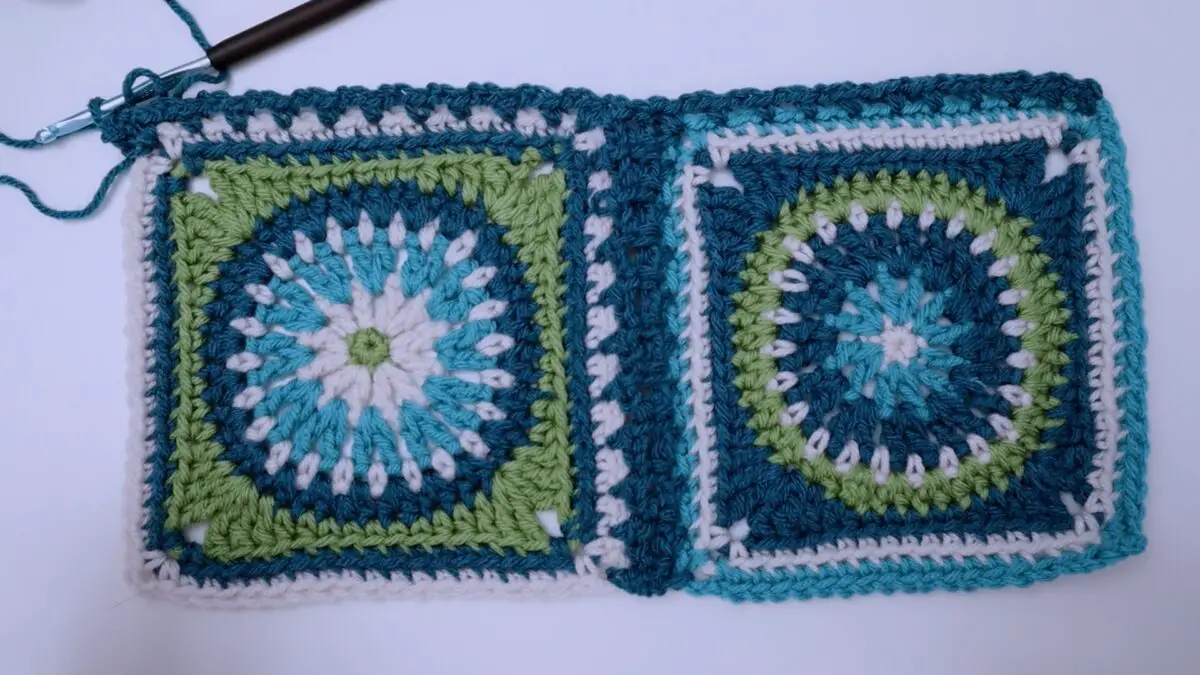
In the first tutorial I did on the Join As You Go method, I showed you how to join squares that had chain space borders
You can find that tutorial HERE
In this tutorial I have added the extra tool of stitch markers to help you understand what chain spaces we will be working into when we hit the juncture of the four squares. These are added when we work along the bottom edge of our row, setting up for the juncture join to come.
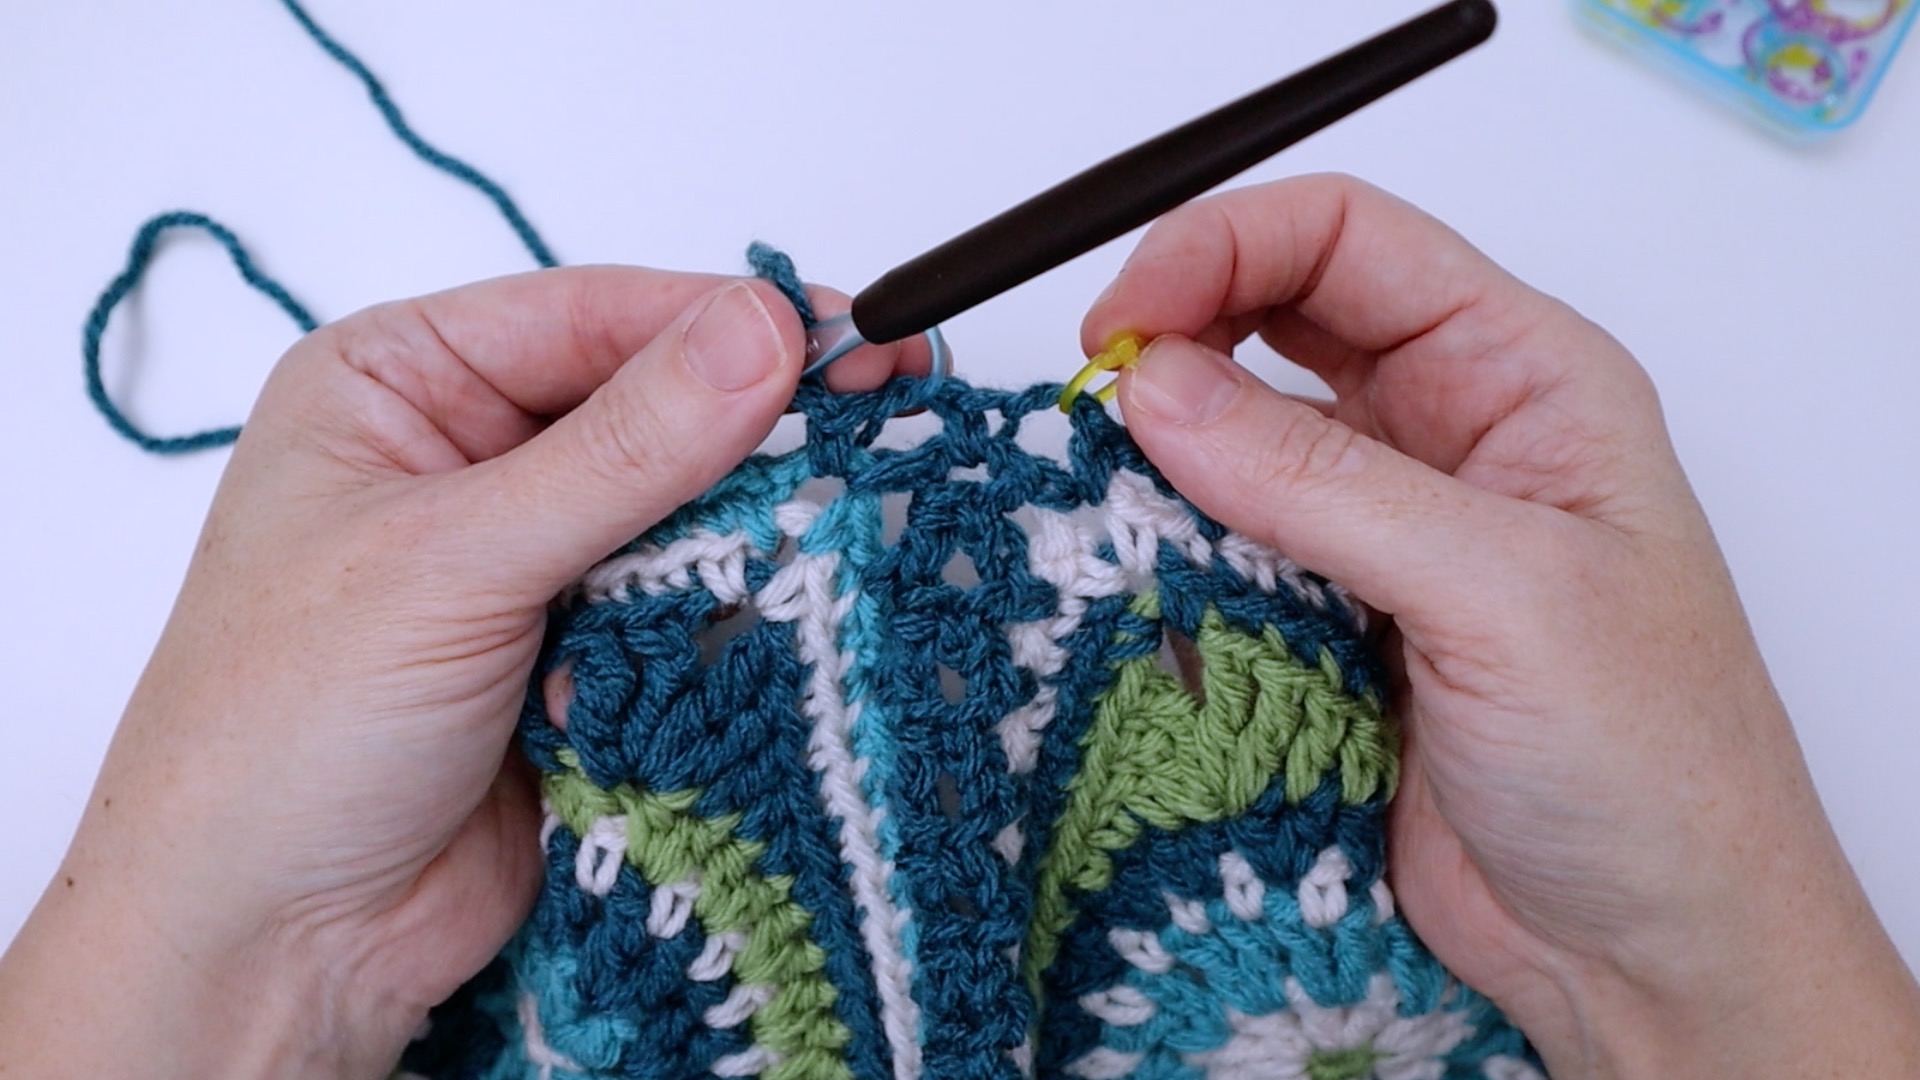
Now when you reach the join of the four squares, the stitch marker will guide you to the spaces you need to pay attention to
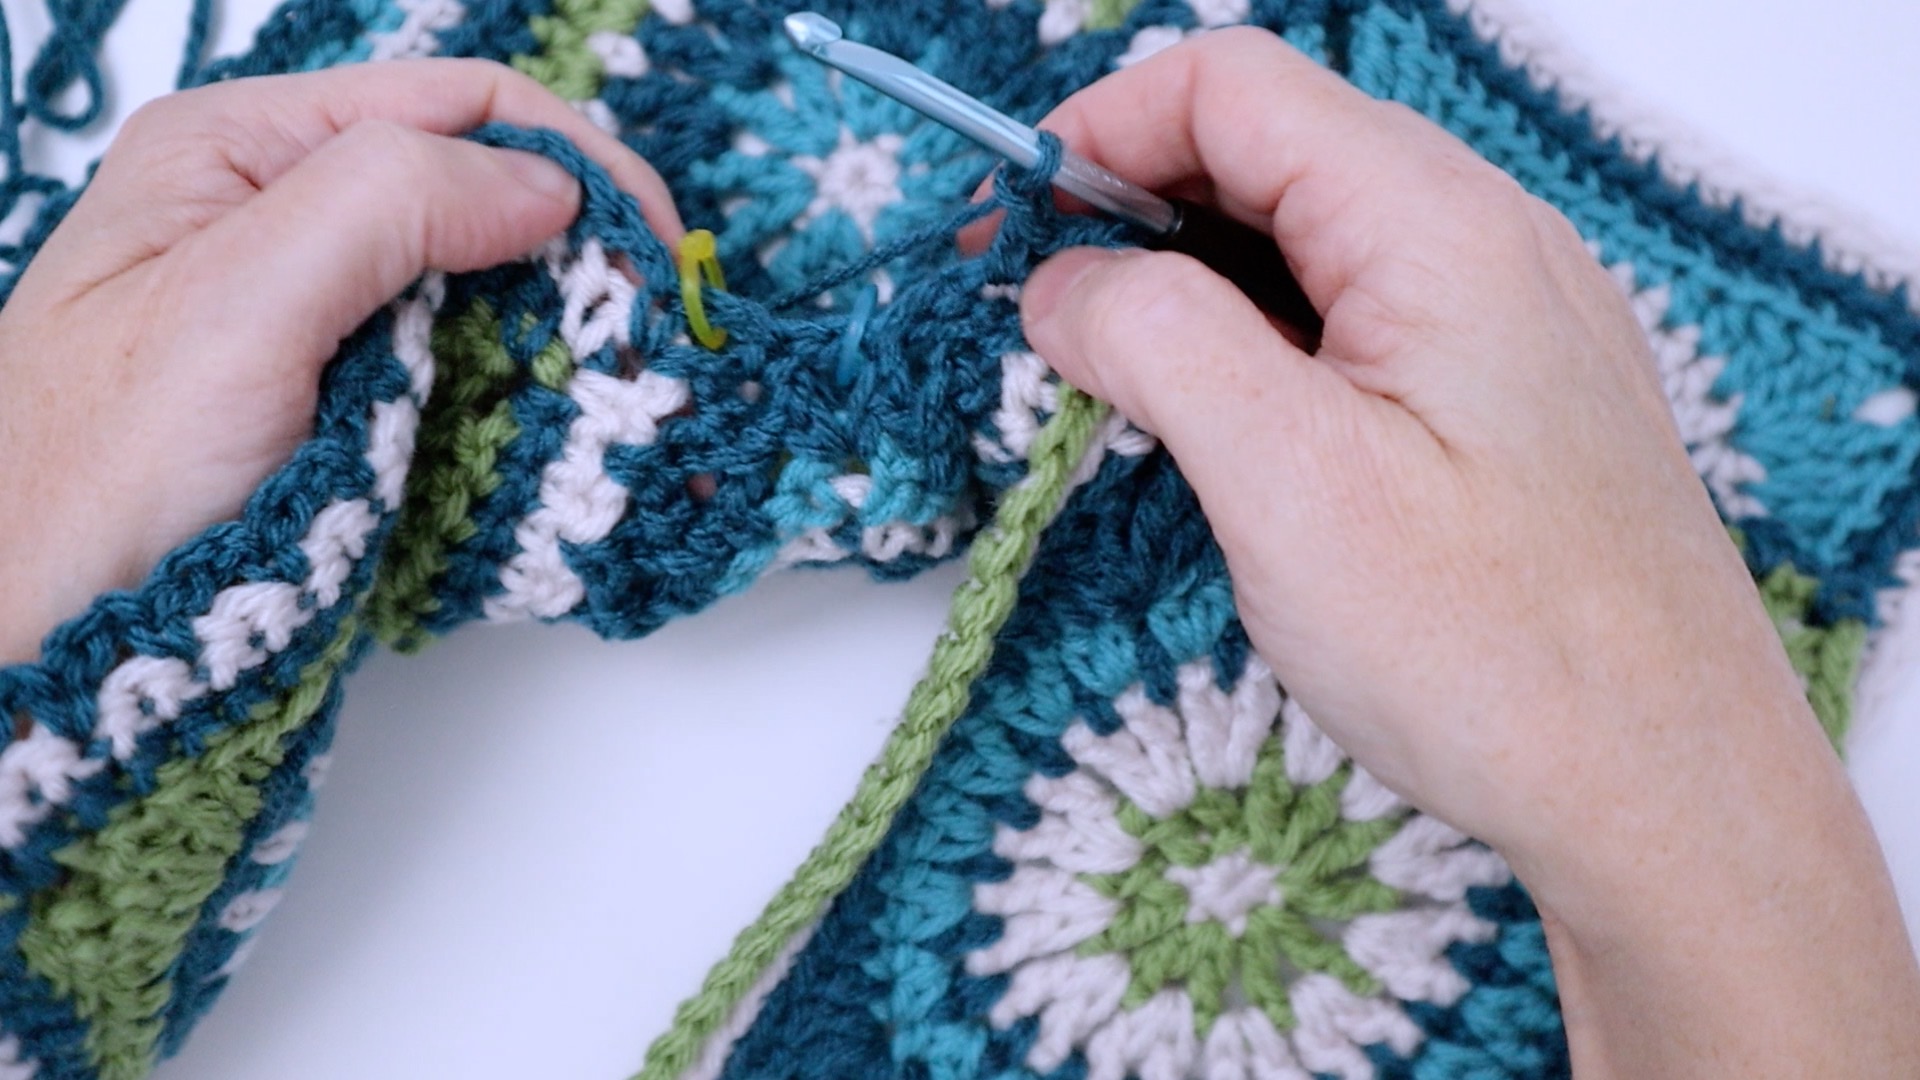
The stitch markers will help the four square juncture be a smoother process to work through.
JAYGO Crochet Pillow Diagram
Below is the Diagram to follow the direction for joining the 4 squares using the JAYGO method
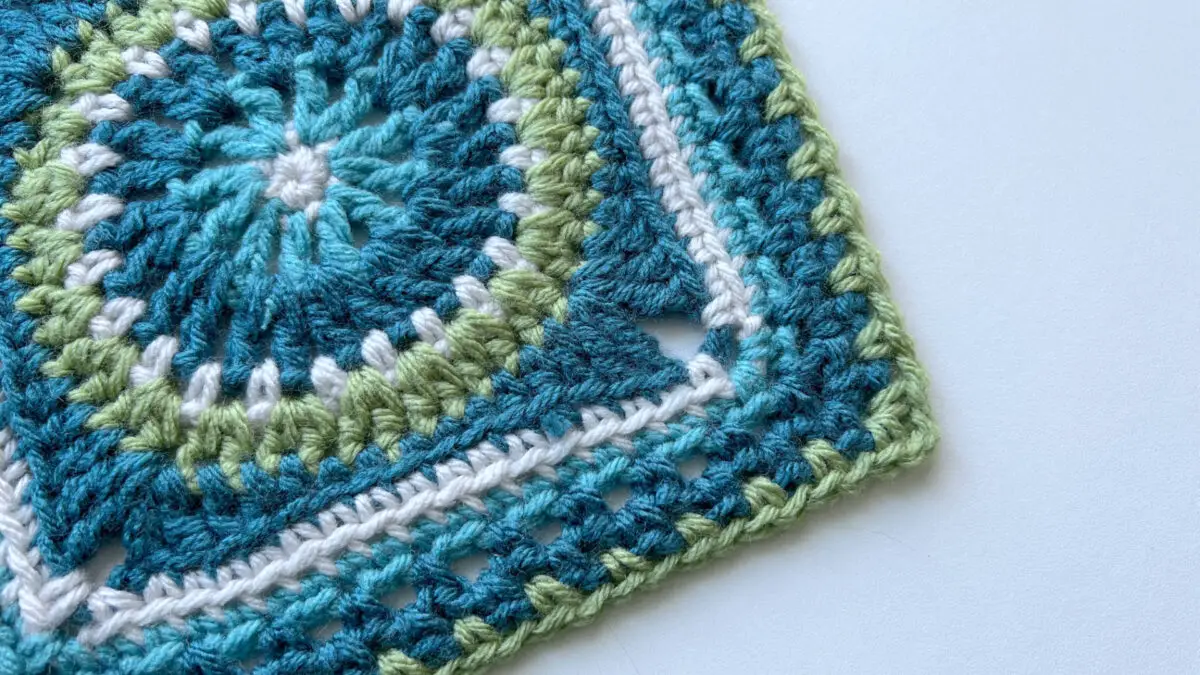
Finishing The JAYGO Crochet Pillow
Once you have your four squares joined, you can add a an extra round or two onto the border.
To make a pillow cover of course you will need a front and back. I like to create my second piece out of a different square and assemble it the same way. In this case I used my Mystic Harmony Square and using the same colour palette of yarn, made four squares and joined them using my first JAYGO tutorial for chain stitch borders.
You will want the finished two pieces to match in size. This is where adding a few border rounds helps out.
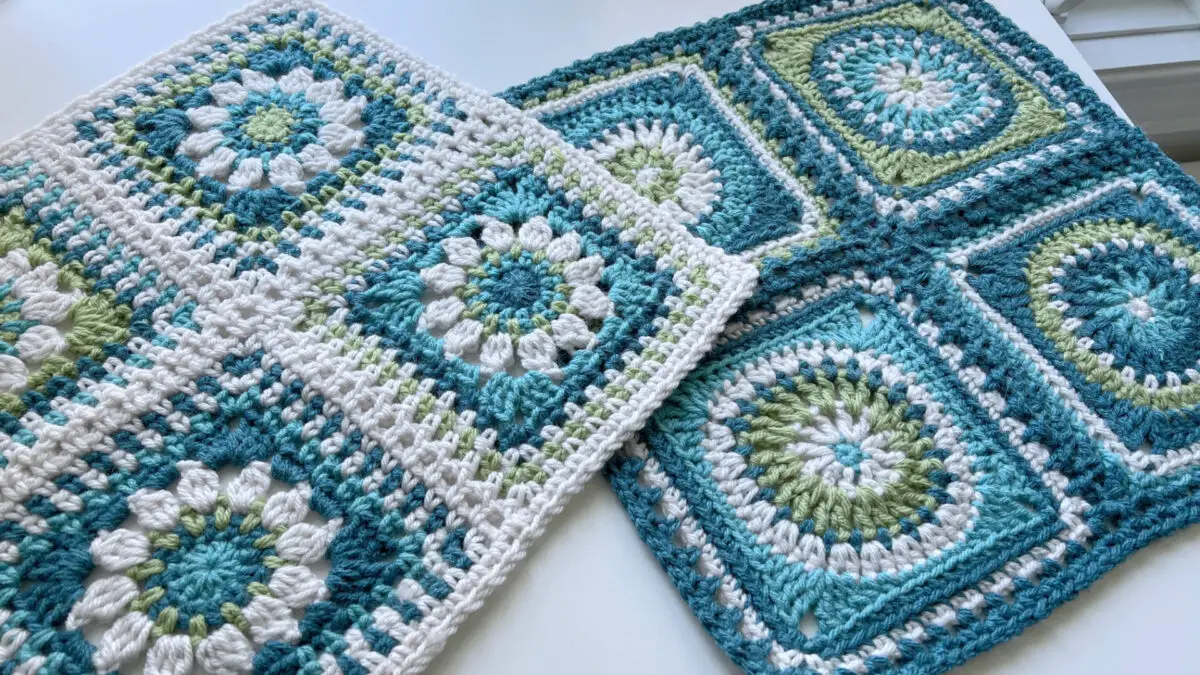
Then you can join the two pieces using any method you want. I experimented with two different ones. I used a simple single crochet, ch 1, while working through both edges. I also tried the JAYGO method around the outside edges, it worked great too.
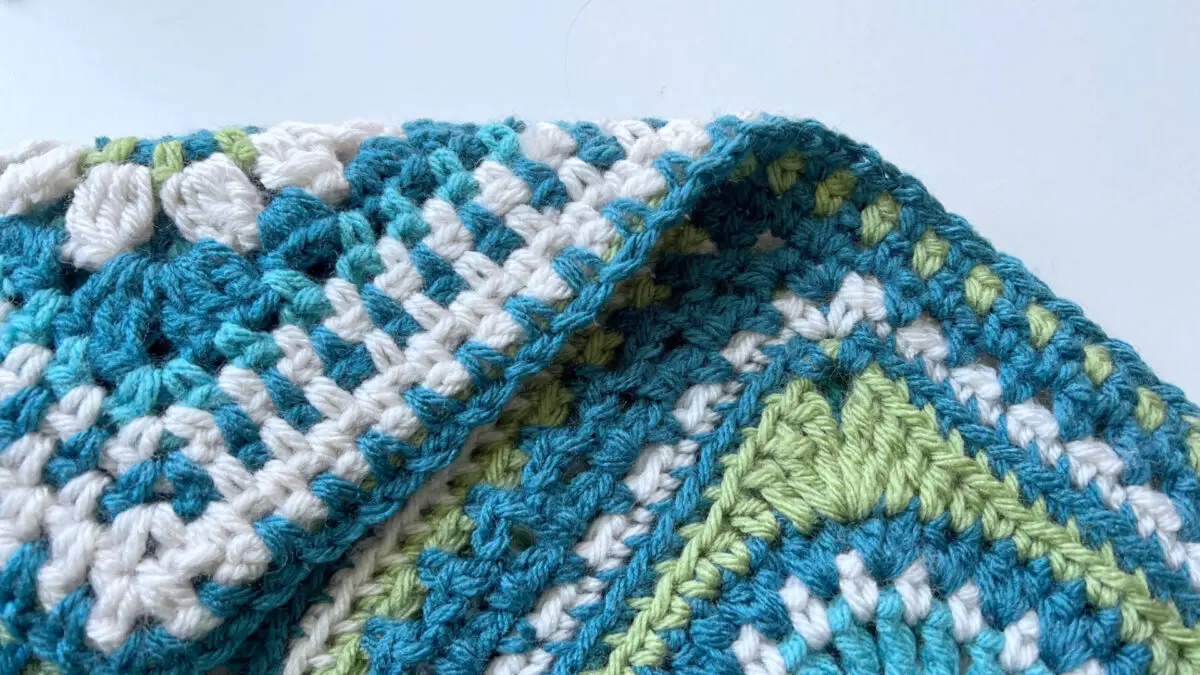
I worked around three edges, then inserted the pillow form and finished the last edge. This is why you will want the pillow form to be washable, so you don’t have to pick out stitches and remove the form if you need to wash your pillow cover.
Now just fasten off any loose ends and you’re pillow is complete.
If you would like the Free Spirit Square or the Mystic Harmony pattern as a PDF, with Symbol Charts, it is available over in my shop, HERE,
JAYGO Crochet Video Walk Through
This step by step video tutorial will walk you through how to make the JAYGO Crochet method on Solid Stitch Squares
Check out my Shop where I regularly release new patterns using all my squares.
All shop patterns include a symbol chart version of the square as well as various colour way diagrams
Thanks for joining me and getting creative. ~ Jane ~
“I found I could say things with color and shapes that I couldn’t say any other way – things I had no words for.” – Georgia O’Keeffe

