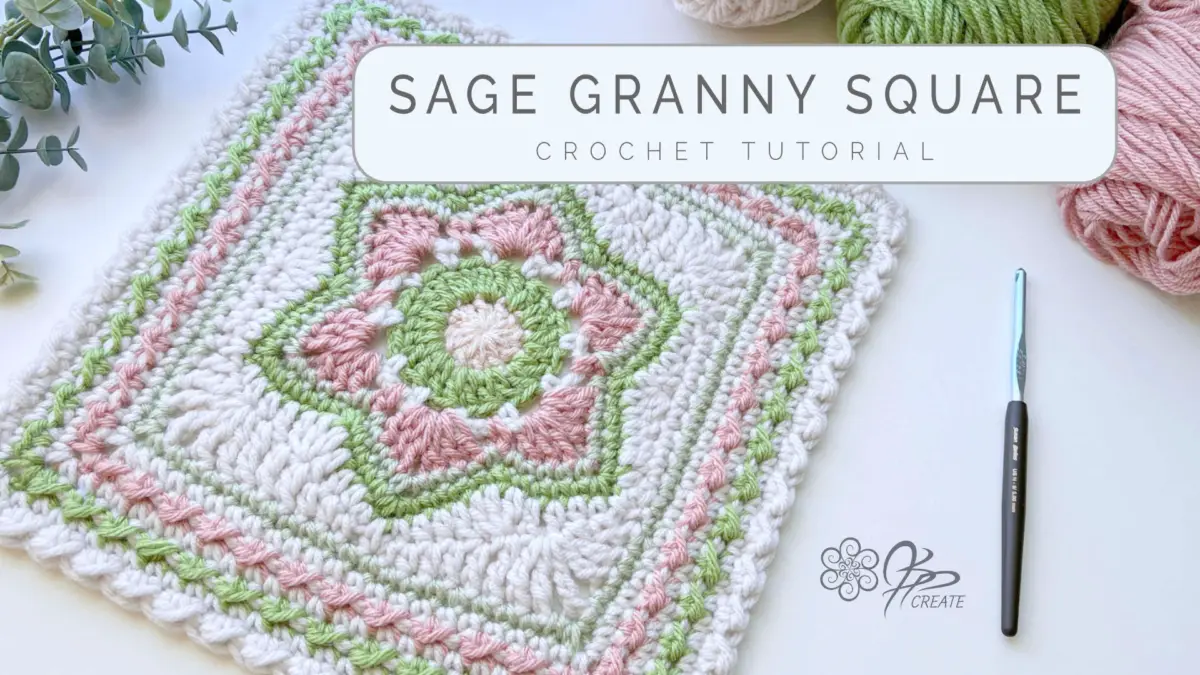
Hey Gang, Jane back today with a new Granny Square, Are you Ready for some Petal Styling? Well join me in making The Sage Granny Square.
I started the Sage Granny Square by creating a simple 6 petalled flower, then I decided to add a round to straighten the sides and make it into a hexagon shape. Next I decided to challenge myself to see if I could add another round and turn it into a square. It took some trial and error, as 6 corners don’t work the same as 4 corners. But in the end we have success.
I’ve included a fancy little border around this square. It’s a straight forward border stitch that I frequently use to embellish my blankets, and it’s adaptable to any square, adding a beautiful but simple touch to its final look. I’ll demonstrate this as an extra little bonus towards the end of the video tutorial.
If you would like the ad-free pattern for the Mystic Harmony Square as a PDF, with Symbol Charts, Find it in my shop, HERE,
I’d recommend the Sage Granny Square for those at an advanced beginner level, mainly due to the two squaring rounds involved. However, based on the positive feedback from my video tutorials, I’ve incorporated numerous repeats and complete round demonstrations for the squaring process in this one. So, if you’re seeking additional guidance, do check out the accompanying video linked below this tutorial.
My aim is to simplify this square and encourage newer crocheters to give it a try. I hope this approach will empower you to explore and create the beautiful squares and projects you’ve been admiring.
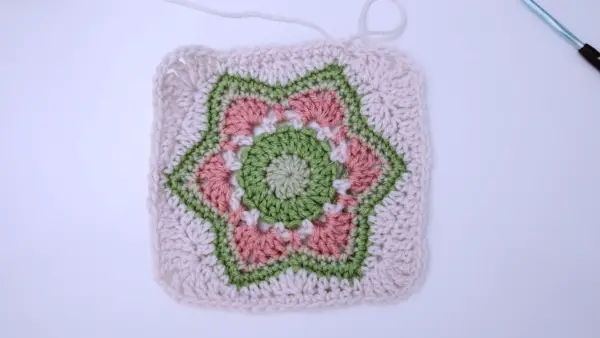
The main part of the Sage Granny Square has 8 rounds up to and including the squaring off section, and you could use it with just these 8 rounds. But I like to add additional rounds to the border and give it a nice finish as well as make it a bit larger, so the final square ends up with 15 rounds in all.
The 8 rounds version works out to 8″ square and the larger 15 round version comes out to 11 ½” squared.
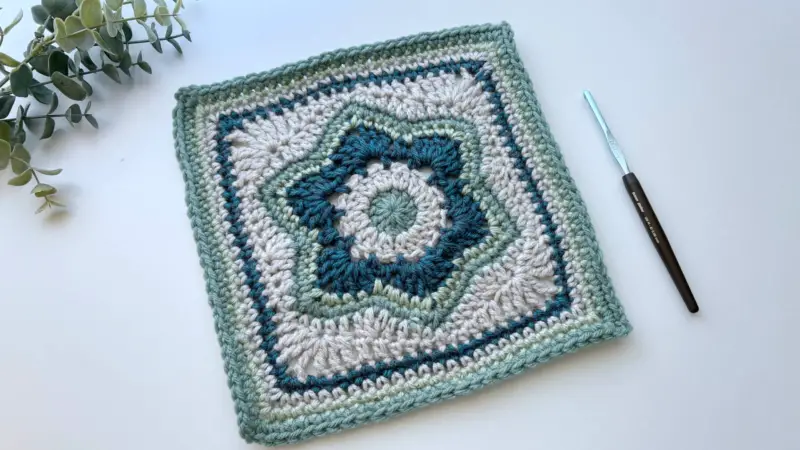
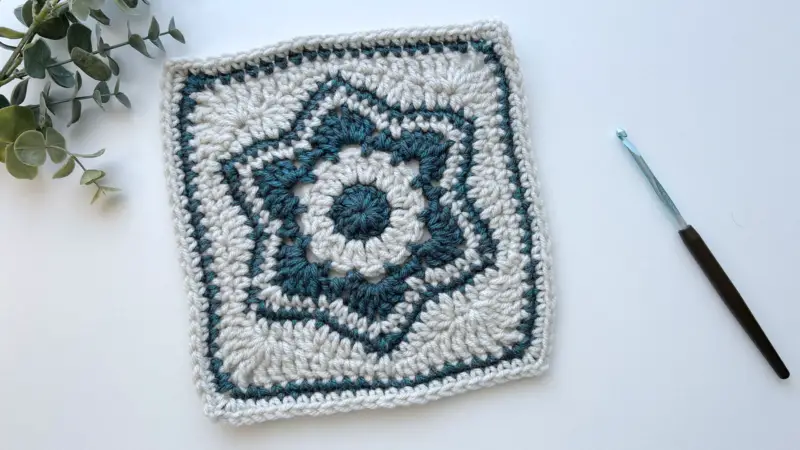
Feel free to experiment with the arrangement of colors and the number of colors to achieve various looks with this square. Customize it to match your home decor color scheme and use it as a trivet or a placemat. Alternatively, you can opt for just two colors and discover how striking that can be too.
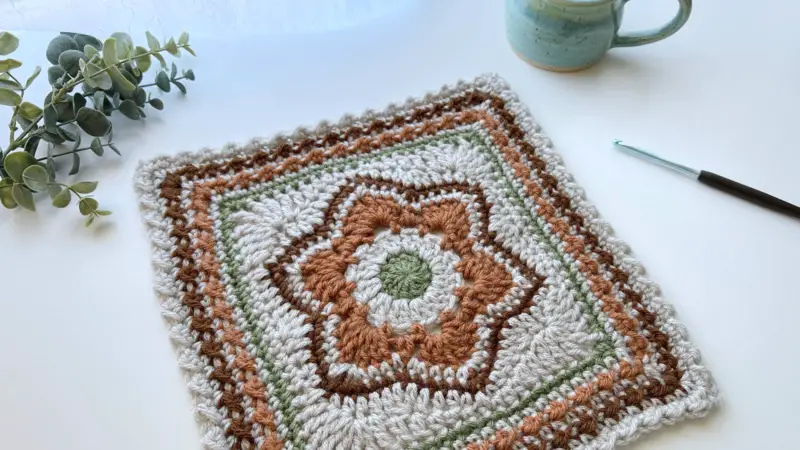
Sage Granny Square Supplies
Skill Level:
Advanced Beginner
Tools and Supplies:
The Yarn used in this pattern is a Worsted Weight #4
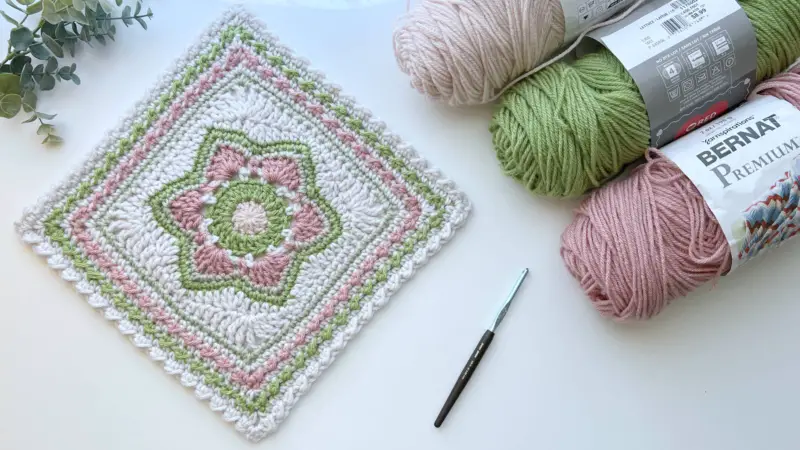
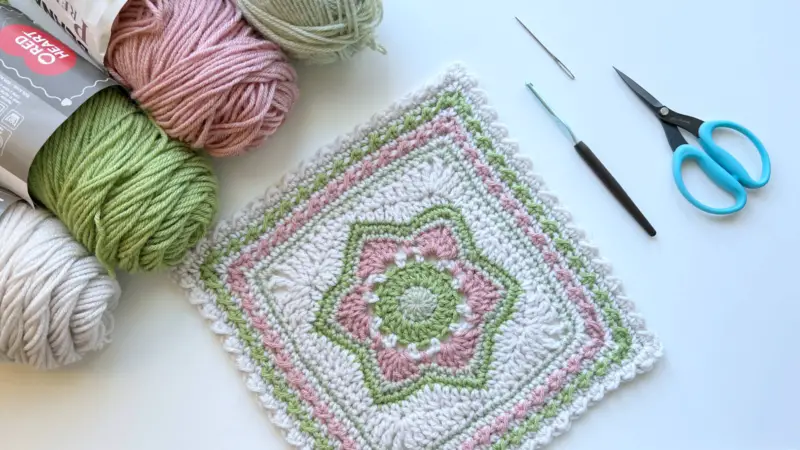
The Colours I’m using today
small amounts of 4 different colours of yarn
- Laurel – Impeccable by Loops and Threads
- Lettuce – Red Heart With Love
- Parchment – Bernat Premium
- Rose – Bernat Premium
Hook: 5.00 mm US H-8
My fav hook is the Susan Bates Silvalume Ergonomic – this is the one I used in the tutorial
Other Supplies:
- Scissors
- Yarn needle for darning in ends
Sage Granny Square Guage and Finished Size:
Rnds 1 – 8 = 8 ” x 8 ” using suggested hook
Rnds 1 – 15 = 11 ½ ” x 11 ½ ” using suggested hook
More Information on Hooks Sizes, Yarn Weights and Crochet Language
Hook Sizes see the Craft Yarn Council’s Page Here
For Standard Yarn Weight Information See this Page
A Handy PDF from Annie’s on the difference between UK and US Crochet Terms
A Nice Explanation from LoveCraft’s on The UK and US differences
Abbreviations:
ch – chain
st(s)– stitch(es)
sl st – slip stitch
sc – single crochet
hdc – half double crochet
Lhdc – Long half double crochet
dc – double crochet
tr – treble crochet
lp(s) – loop(s)
yo– yarn over
rnd – round
beg – beginning
prev – previous
sp – space
sk – skip
rep – repeat
dec – decrease
Cont – continue
Special Stitches:
Long Half Double Crochet – Lhdc:
– YO, insert hook into specified st or ch sp, YO and pull up a loop to height of the rnd you are working on, YO and pull through all three loops
Single Crochet Decrease – sc dec:
worked over the next 2 sts = decreasing 1 stitch total
– ( insert hook into next st, YO and pull up a loop ) twice, YO and pull through all three loops on hook
Double Crochet Decrease – dc dec
worked over the next 3 sts = decreasing 2 stitches total
- ( YO, insert hook into next st, YO and pull up a loop, YO and pull through 2 loops ) three times, YO and pull through all four loops on hook
Joining Colours:
The pattern is written to join new colours using standing stitches
OR use the alternatives below in place of the standing stitch method
sc join = join with a sl st in specified st, ch 1, sc in same st
dc join = join with a sl st in specified st, ch 3 ( counts as first dc )
Sage Granny Square Directions:
Foundation: With Laurel, Make a Magic Ring
OR alternate foundation: { Ch 4, sl st in first ch, to form a ring. }
Rnd 1: Continue with Laurel, ch 3 ( counts as first dc ), work 11 more dc into ring, sl st in 3rd ch of beg ch 3, fasten off. { 12 dc }
Rnd 2: With Lettuce, dc join in any st of prev rnd, work another dc in same st, 2 dc in each st around, sl st in 3rd ch of beg ch 3, fasten off. { 24 dc }
Rnd 3: With Parchment, sc join in any st of prev rnd, ch 3, * sk next st, sc in next st, ch 3 rep from * around, sk last st, sl st in first sc of rnd. { 12 sc, 12 ch-3 sp }
Rnd 4: With Rose, sc join in any ch-3 sp of prev rnd, ch 1, ( 3 dc, ch 2, 3 dc ) in next ch-3 sp, ch 1 * sc in next ch-3 sp, ch 1, ( 3 dc, ch 2, 3 dc ) in next ch-3 sp, ch 1, rep from * 4 more times, sl st in first sc of rnd, fasten off. { 36 dc, 6 sc, 12 ch-1 sp, 6 ch-2 sp }
Rnd 5: With Laurel, sc join in any ch-2 corner sp of prev rnd, * sc in each of next 3 sts, sc in next ch-1 sp, sk next st, sc in next ch-1 sp, sc in each of next 3 sts, ** ( sc, ch-2, sc ) in next ch-2 sp, rep from * 4 more times then from * to ** once more, sc in same st as join, ch 2, sl st in first sc of rnd, fasten off. { 60 sc, 6 ch-2 sp }
Rnd 6: With Lettuce, sc join in any ch-2 corner sp of prev rnd, * sc in each of next 4 sts, sc dec over next 2 sts, sc in each of next 4 sts, ** ( sc, ch-2, sc ) in next ch-2 sp, rep from * 4 more times then from * to ** once more, sc in same ch-sp as join, ch 2, sl st in first sc of rnd, fasten off. { 66 sc, 6 ch-2 sp }
Rnd 7: With Parchment sc join in first sc of prev rnd, * hdc in each of next 2 sts, dc in next st, dc dec over next 3 sts, dc in next st, hdc in each of next 2 sts, sc in next st, ch 2, ** sk next ch-2 sp, sc in next st, rep from * 4 more times, then from * to ** once more, sl st in first sc of rnd, DO NOT FASTEN OFF. { 12 sc, 24 hdc, 18 dc, 6 ch-2 sp }
Rnd 8: Continue with Parchment, ch 1, sc same st as sl st join, sc in each of next 8 sts, * long hdc in unworked ch-2 sp of rnd 6, dc in next st, tr in next st ( tr, ch 1, tr, ch 1, 2 tr ) in next st (corner made), tr in next st, dc in each of next 2 sts, hdc in each of next 2 sts, sc in next st, long hdc in unworked ch-2 sp of rnd 6, sc in next st, hdc in each of next 2 sts, dc in each of next 2 sts, tr in next st, ( 2 tr, ch 1, tr, ch 1, tr ) in next st, tr in next st, dc in next st, long hdc in unworked ch-2 sp of rnd 6, ** sc in each of next 9 sts, rep from * to ** once more, sl st in first sc of rnd, fasten off. { 22 sc, 6 long hdc, 8 hdc, 12 dc, 24 tr, 8 ch-1 sp}
Rnd 9: WIth Laurel sc join in corner tr that sits between the ch-1 sps of prev rnd, * sc in next ch-1 sp, sc in each of next 17 sts, sc in next ch-1 sp, ** ( sc, ch 2, sc ) in next tr, rep from * 2 more times, then from * to ** once more, sc in same tr as join, ch 2, sl st in first sc of rnd, fasten off. { 84 sc, 4 ch-2 sp }
Rnd 10: With Parchment sc join in any ch-2 sp of prev rnd, * sc in each st to next ch-2 sp, ** ( sc, ch 2, sc ) in next ch-2 sp, rep from * 2 more times, then from * to ** once more, sc in same ch-2 sp as join, ch 2, sl st in first sc of rnd, fasten off. { 92 sc, 4 ch-2 sp }
Options: Round 10 can be repeated as many times as desired for border.
Or alternatively you can add a fancy border as follows:
Rnd 11: Turn work to Wrong Side, with Rose sc join in any ch-2 sp of prev rnd, * hdc in next st, ( sl st in next st, hdc in next st ) across to next ch-2 sp, ** ( sc, ch 2, sc ) in next ch-2 sp, rep from * 2 more times, then from * to ** once more, sc in same ch-2 sp as join, ch 2, sl st in first sc of rnd, fasten off. Turn Work back to Right Side for next Rnd. { 8 sc, 48 hdc, 44 sl st, 4 ch-2 sp }
Option: Repeat Rnds 10-11 as many times as desired. OR Work Rnds 12 through 15 as in Sample Below
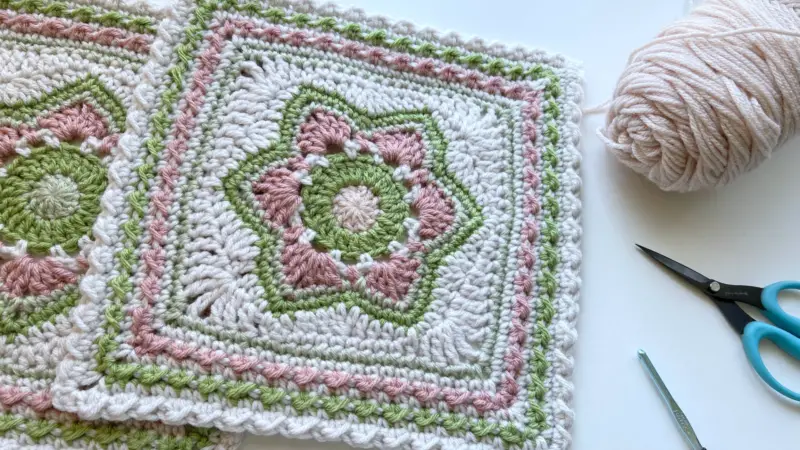
The Sage Granny Square Fancy Border Rounds:
Rnd 12: Rep Rnd 10 in Parchment
Rnd 13: Rep Rnd 11 in Lettuce
Rnd 14: Rep Rnd 10 in Parchment – do not fasten off.
Rnd 15: Turn work to Wrong Side, Continue with Parchment, sl st in ch-2 sp from previous rnd, ch 1, sc in same ch-2 sp, * hdc in next st, ( sl st in next st, hdc in next st ) across to next ch-2 sp, ** ( sc, ch 2, sc ) in next ch-2 sp, rep from * 2 more times, then from * to ** once more, sc in same ch-2 sp as join, ch 2, sl st in first sc of rnd, fasten off. { 8 sc, 64 hdc, 60 sl st, 4 ch-2 sp }
Finishing
- Weave in any loose ends.
If you would like this pattern as a PDF, with Symbol Charts, it is available over in my shop, HERE,
This step by step video tutorial will walk you through how to make the Sage Granny Square
Create a Project With Your Sage Granny Square
- Join them into a Pillow, a Blanket or a Trivet with the Lacey Join As You Go Lacey Method
- Give them a Professional Edge Finish with The Twisted Single Crochet
Check out my Shop where I regularly release new patterns using all my squares.
All shop patterns include a symbol chart version of the square as well as various colour way diagrams
Thanks for joining me and getting creative.

“I found I could say things with color and shapes that I couldn’t say any other way – things I had no words for.” – Georgia O’Keeffe

